Creating a Workstation
Steps to Create a Workstation
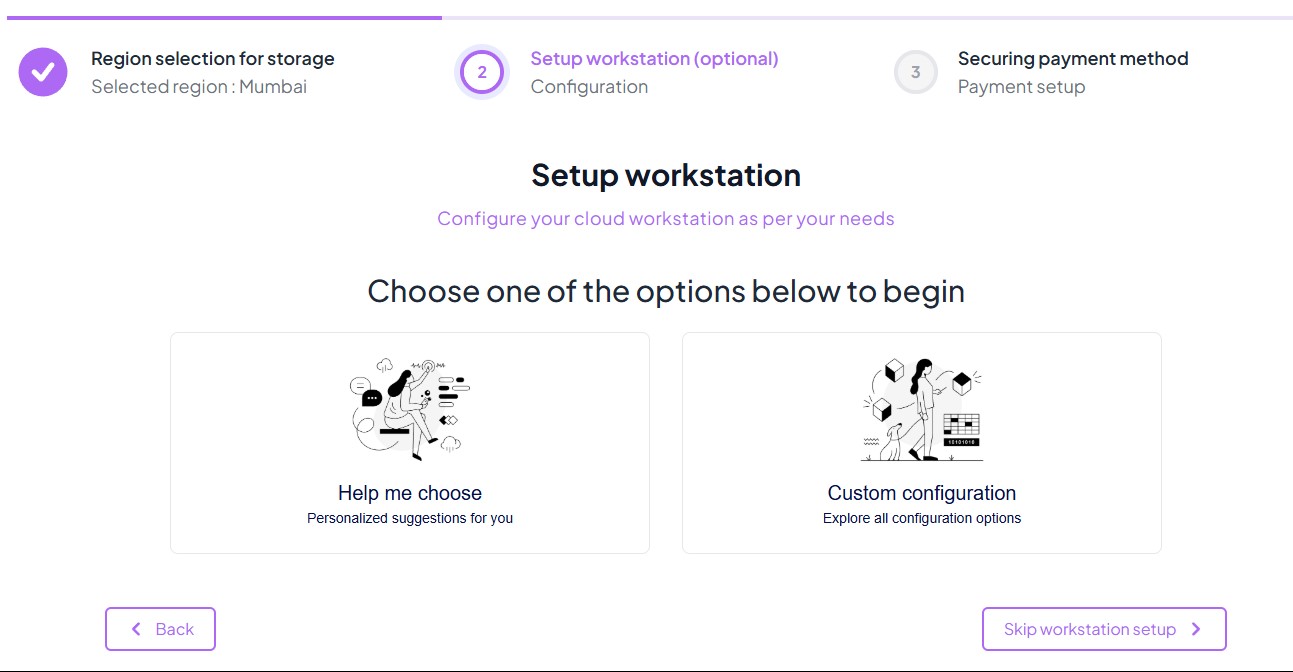
After completing onboarding, you will be directed to the Dashboard where you have the option to create a new workstation.
Click Create New Workstation. You will see two options to proceed:
- Help Me Choose – A guided setup that recommends the best configuration.
- Custom Configuration – Manually configure your workstation.
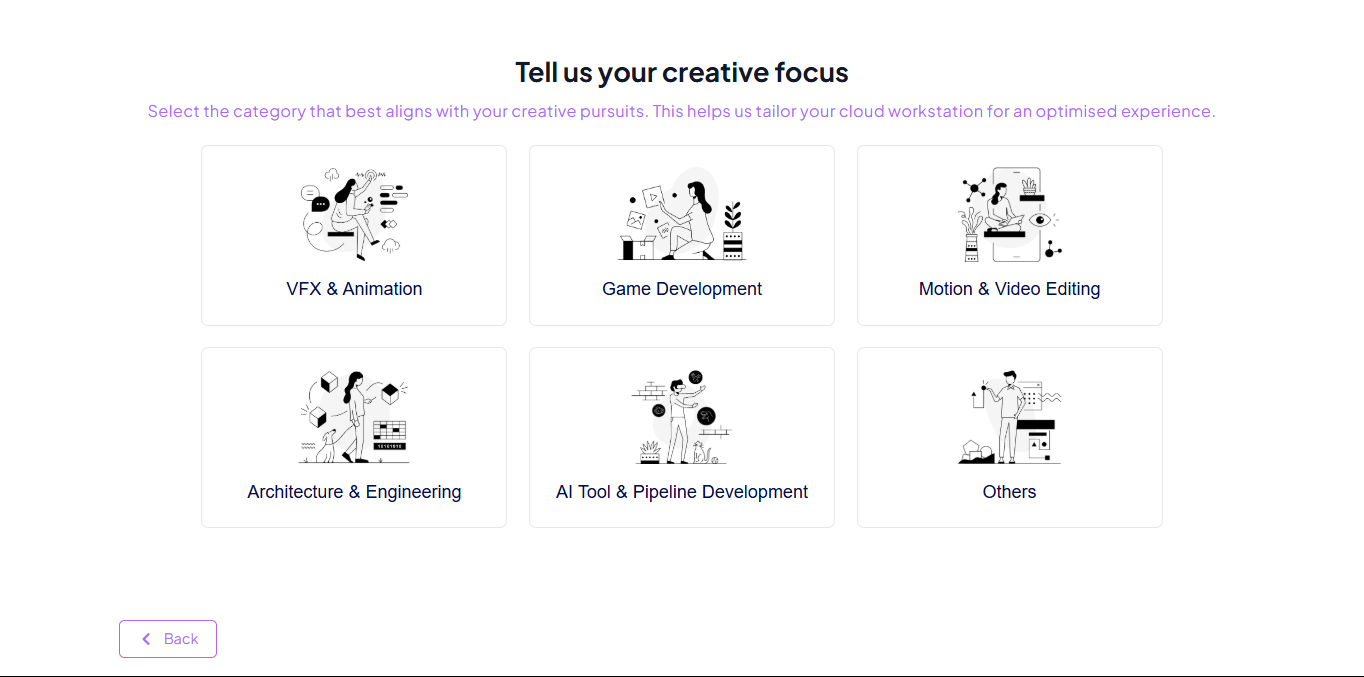
Option A: Help Me Choose
- Pick a Creative Focus to tailor your setup:
- VFX & Animation
- Game Development
- Motion & Video Editing
- Architecture & Engineering
- AI Tool & Pipeline Development
- Others
- Click "Create" to launch your workstation.
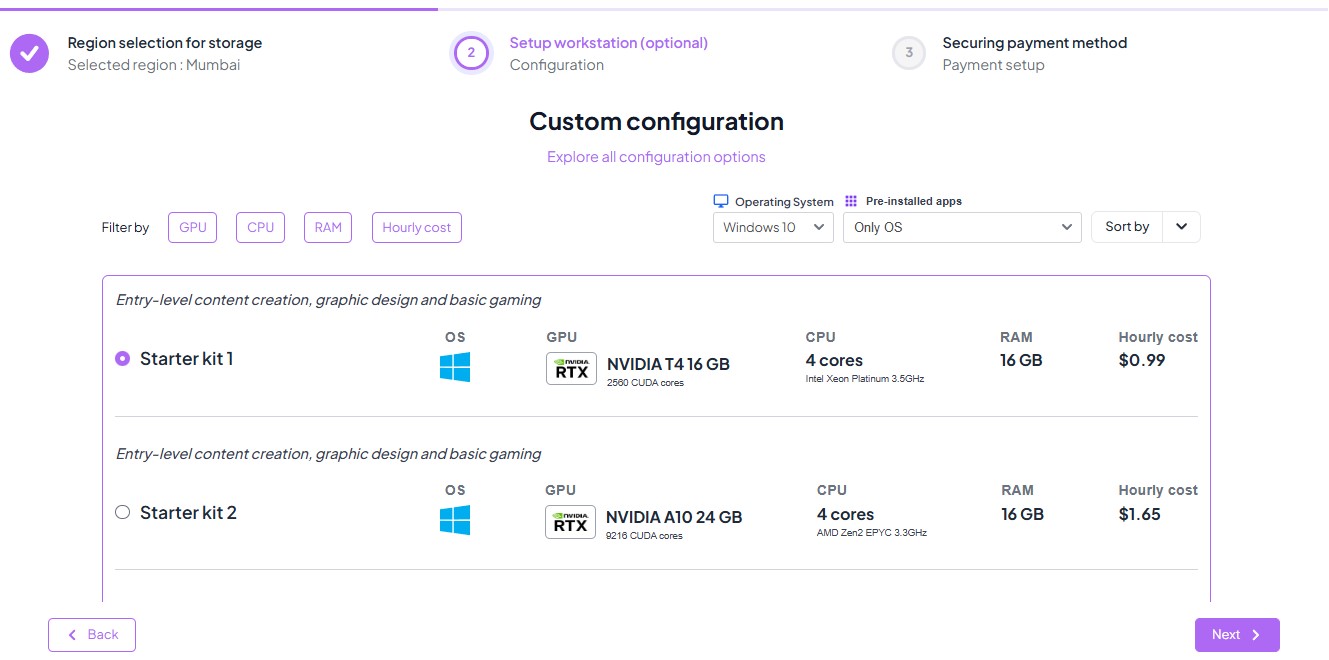
Option B: Custom Configuration
- Manually choose your workstation based on:
- GPU (e.g., NVIDIA T4, A10)
- CPU (e.g., Intel Xeon, AMD EPYC)
- RAM, Hourly Cost
- Filter by specs or cost.
- Select OS and optional pre-installed apps.
- Click "Create" to launch your workstation.
After selecting the region, review the recommended software and hardware configurations. Key specifications displayed:
- GPU (Graphics Processing Unit)
- CPU (Central Processing Unit)
- RAM (Memory Capacity)
- Pricing Details
Choose the configuration that best meets your workflow and budget requirements.


To learn more about choosing the right workstation, head over to the Choosing the Right Workstation section..
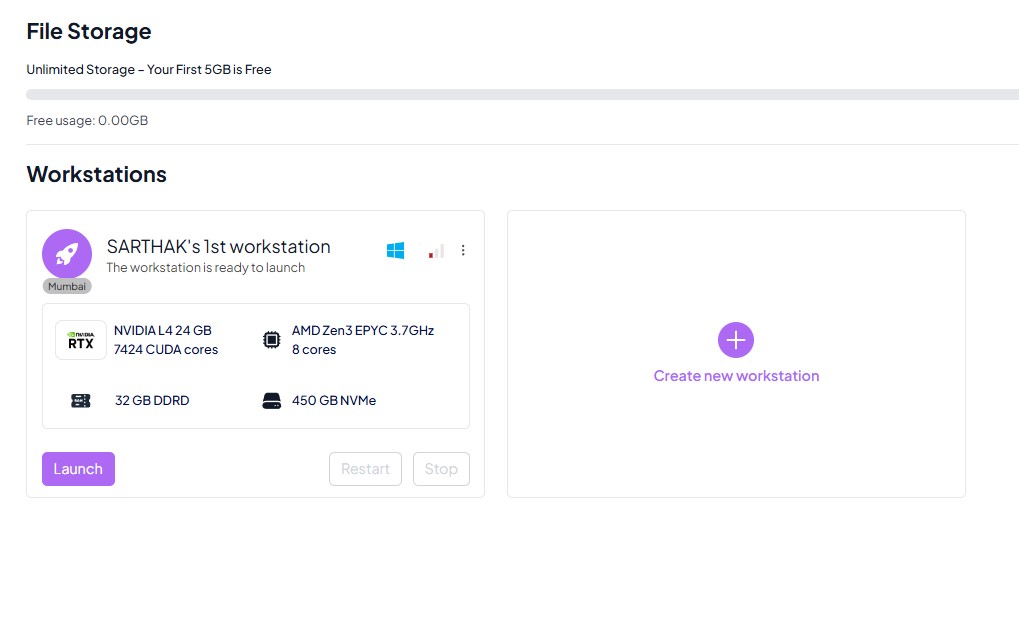
After finalizing your configuration and clicking Create Workstation, you will be redirected to your Dashboard.
The Dashboard provides an overview of all your created workstations.
Each workstation is listed with key specifications (CPU, GPU, RAM, Storage) and labeled with your custom name.
From here, you can easily Launch, Restart, or Stop your workstation as needed.
You also have the option to create additional workstations by clicking Create new workstation and repeating the above.
To learn more about Workstation Dashboard and tools, head over to the Prostation Dashboard section..