Connect to your ProStation
Spark ProStation delivers cloud-hosted virtual ProStations through secure Virtual Desktop Infrastructure (VDI) technology. The remote session opens in a dedicated connection window. Your local device acts as a secure access point, displaying the remote session and transmitting user input in real time. A stable internet connection is recommended for the best experience.
Before You Begin
Complete the following steps before attempting to connect to your ProStation:
You'll need the Spark software installed on your local machine before you can connect.
-
Windows & macOS: The connection client (VDI Receiver) is built into the Spark app. Install the app for your OS, sign in, and connect to your ProStation in just a few clicks.
 Get Spark Desktop App for Windows
 Get Spark Desktop App for MacOS
Connecting to Your ProStation
Open the Spark app on your computer.
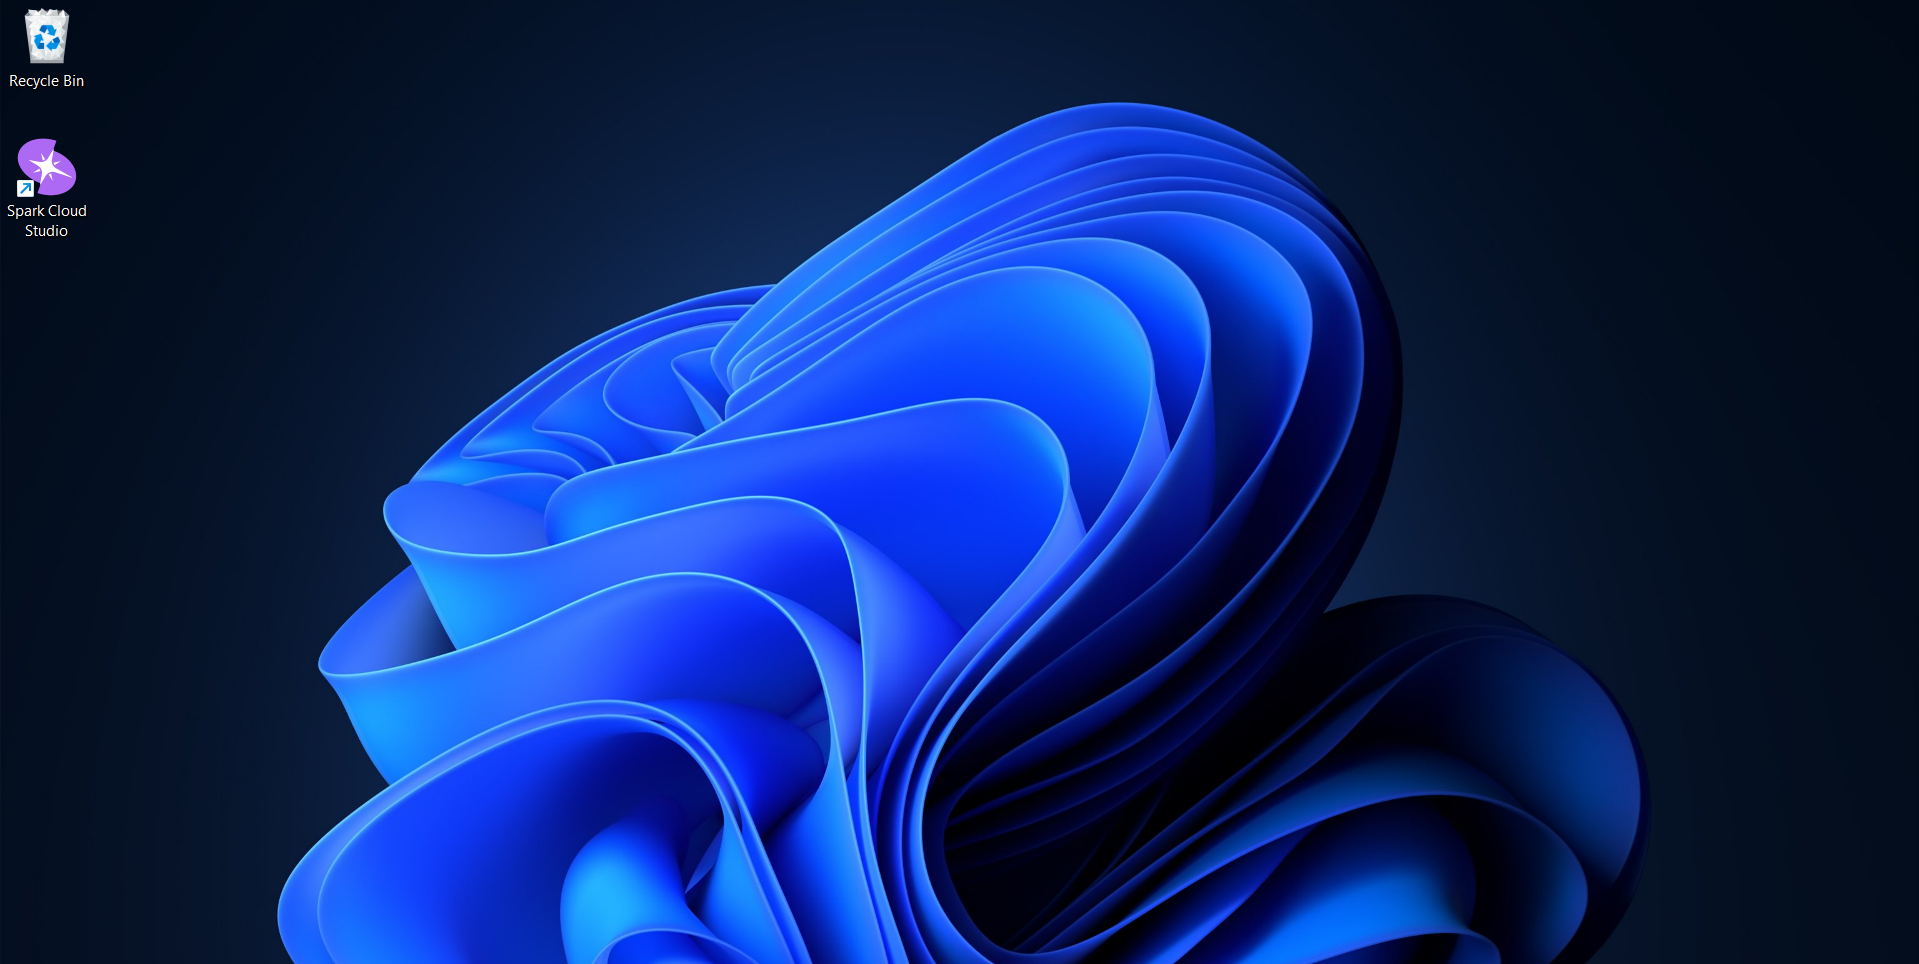
Sign in using your Spark Cloud Studio account credentials.

If you have already signed in or registered before, you can skip this step when the app opens.
If you do not already have an account, complete the registration process before continuing.
After successful authentication, you will be redirected to the Dashboard.
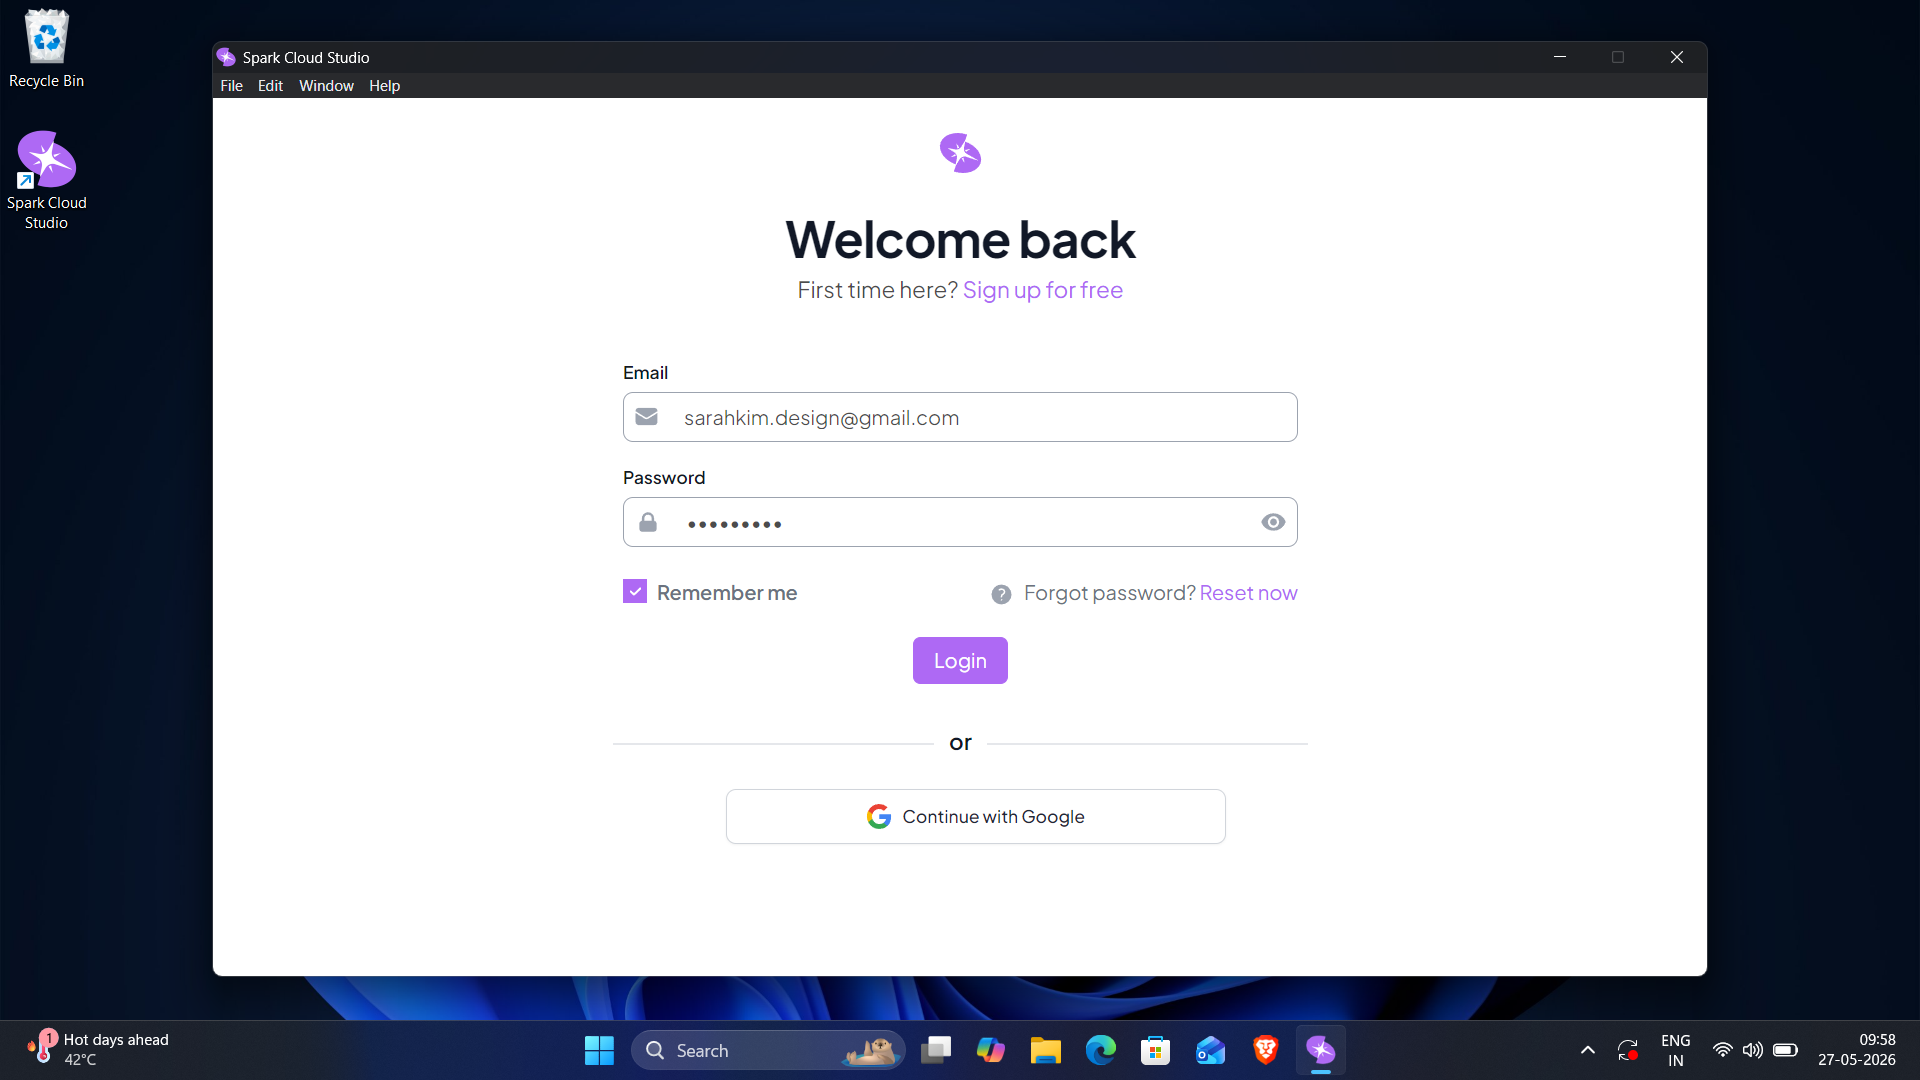
After accessing the dashboard, navigate to the ProStations section.
- If you have not created a ProStation yet, follow the ProStation Creation Guide to provision a new ProStation instance.
- If an existing ProStation is already available, click Start to power it on.
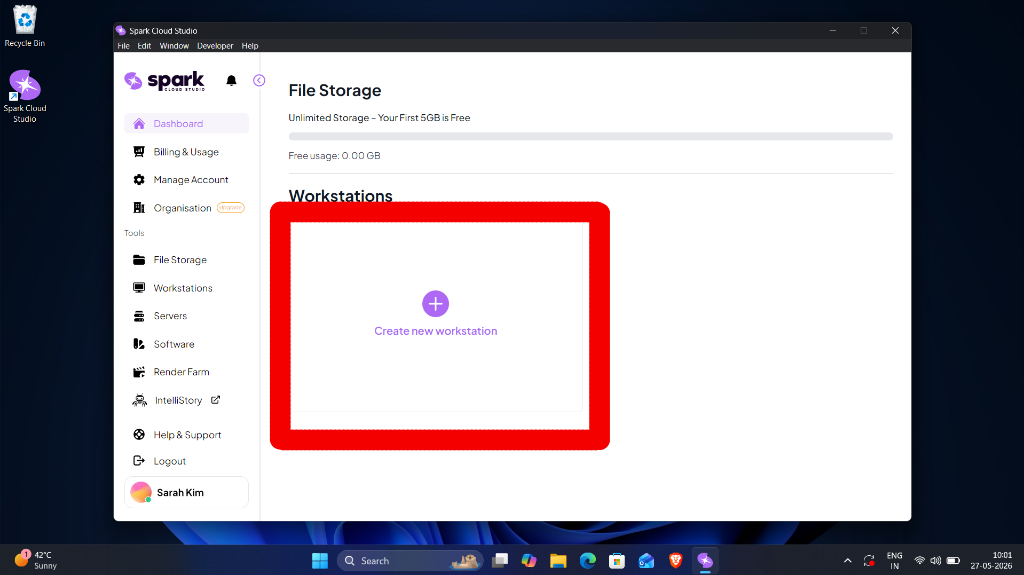
Allow the ProStation sufficient time to fully initialize and enter the Running state.

When a newly created workstation is launched for the first time, startup may take approximately 5 to 10 minutes while provisioning and resource allocation complete. Subsequent starts typically take less than 2 minutes.
Once the ProStation status changes to Running, the Connect button will become available.
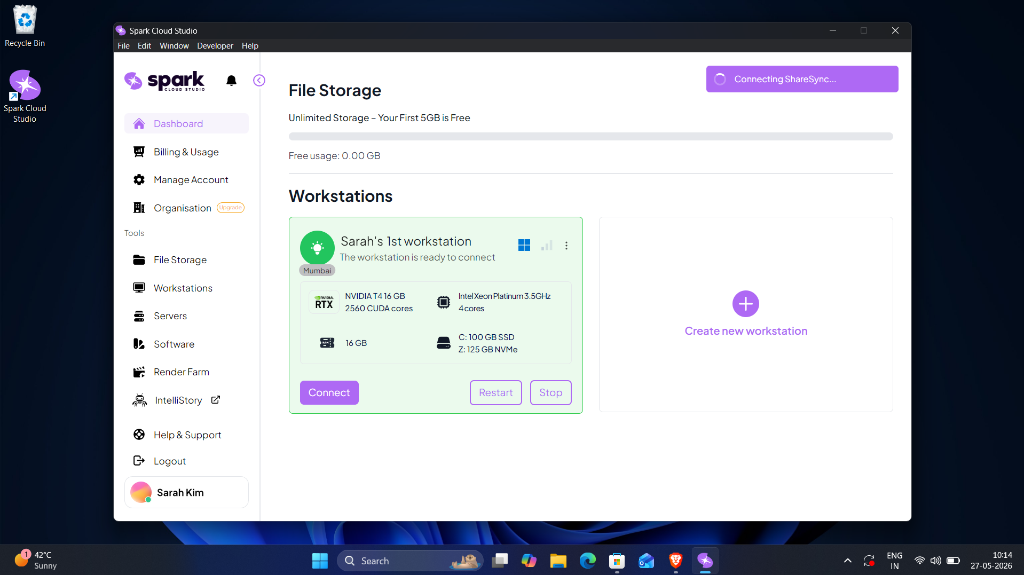
Click the Connect button on the ProStation card.
The Spark App will automatically launch the VDI Receiver and securely process the connection request.
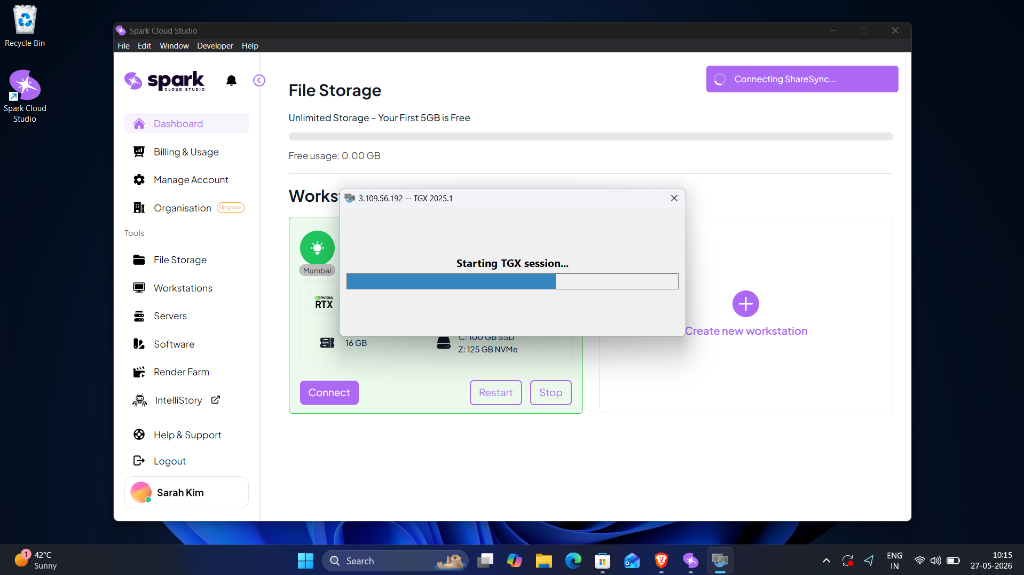
After the connection is established, the remote ProStation desktop session will open automatically.
Wait for the remote environment to fully initialize before interacting with the ProStation.
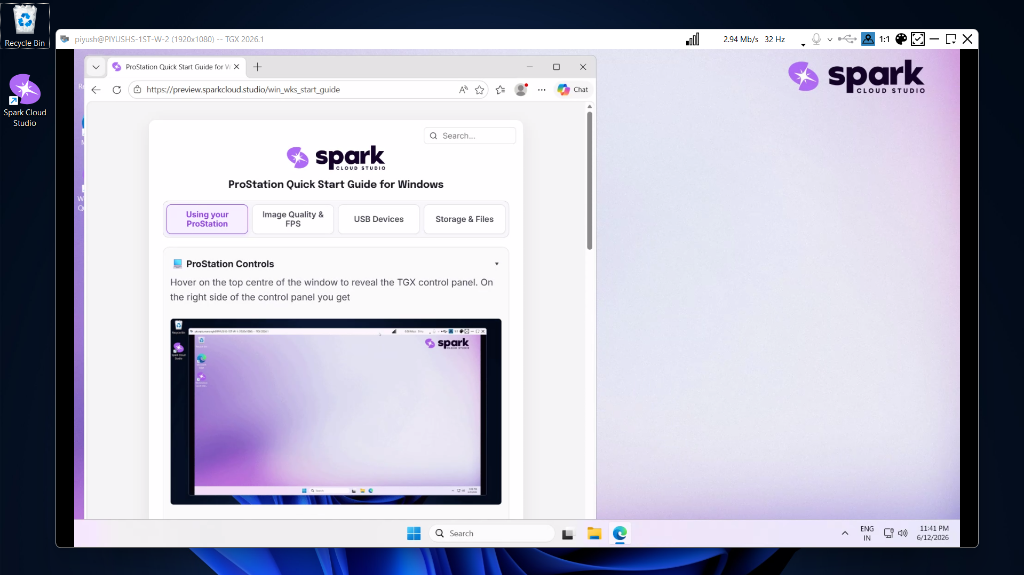
After Connecting to Your ProStation
Once the connection is successfully established, your ProStation desktop environment will appear inside the connection window.
You can now begin using your remote ProStation normally.
Your ProStation remains available until it is manually deleted from the Dashboard. You can start and stop at any time without affecting your installed applications.
Available ProStation Window Controls
The toolbar allows you to manage your remote session efficiently using built-in connection window controls.
| Feature | Description |
|---|---|
| Display Controls | Adjust display scaling, resolution, and fullscreen mode |
| Multi-Monitor Support | Expand the session across multiple displays |
| USB Device Sharing | Connect local USB peripherals to the remote ProStation |
| Network Statistics | Monitor session latency and connection quality |
| Session Controls | Minimize, restore, or disconnect the session |
For a complete overview of the workspace environment, toolbar controls, session settings, and advanced features, refer to Inside Your Workstation.
Connection Window Keyboard Shortcuts
Use the following keyboard shortcuts to quickly manage your remote session.
| Session Action | Keyboard Shortcut |
|---|---|
| Minimize Session | Ctrl + Alt + N |
| Maximize Session | Ctrl + Alt + M |
| Restore Window | Ctrl + Alt + W |
| Toggle Fullscreen | Ctrl + Alt + S |
| Enable Multi-Screen | Ctrl + Alt + D |
| Disconnect Session | Ctrl + Alt + X |
Ending Your Session
Option A: Connection Window
When you're finished, move your cursor to the top of the connection window to reveal the close (✖) button. From the connection window controls you can:
| Action | Effect | Screenshot |
|---|---|---|
| Disconnect | Closes the connection window and returns you to your local desktop. Your ProStation remains powered on and running in the cloud; applications stay open and you can reconnect later. | 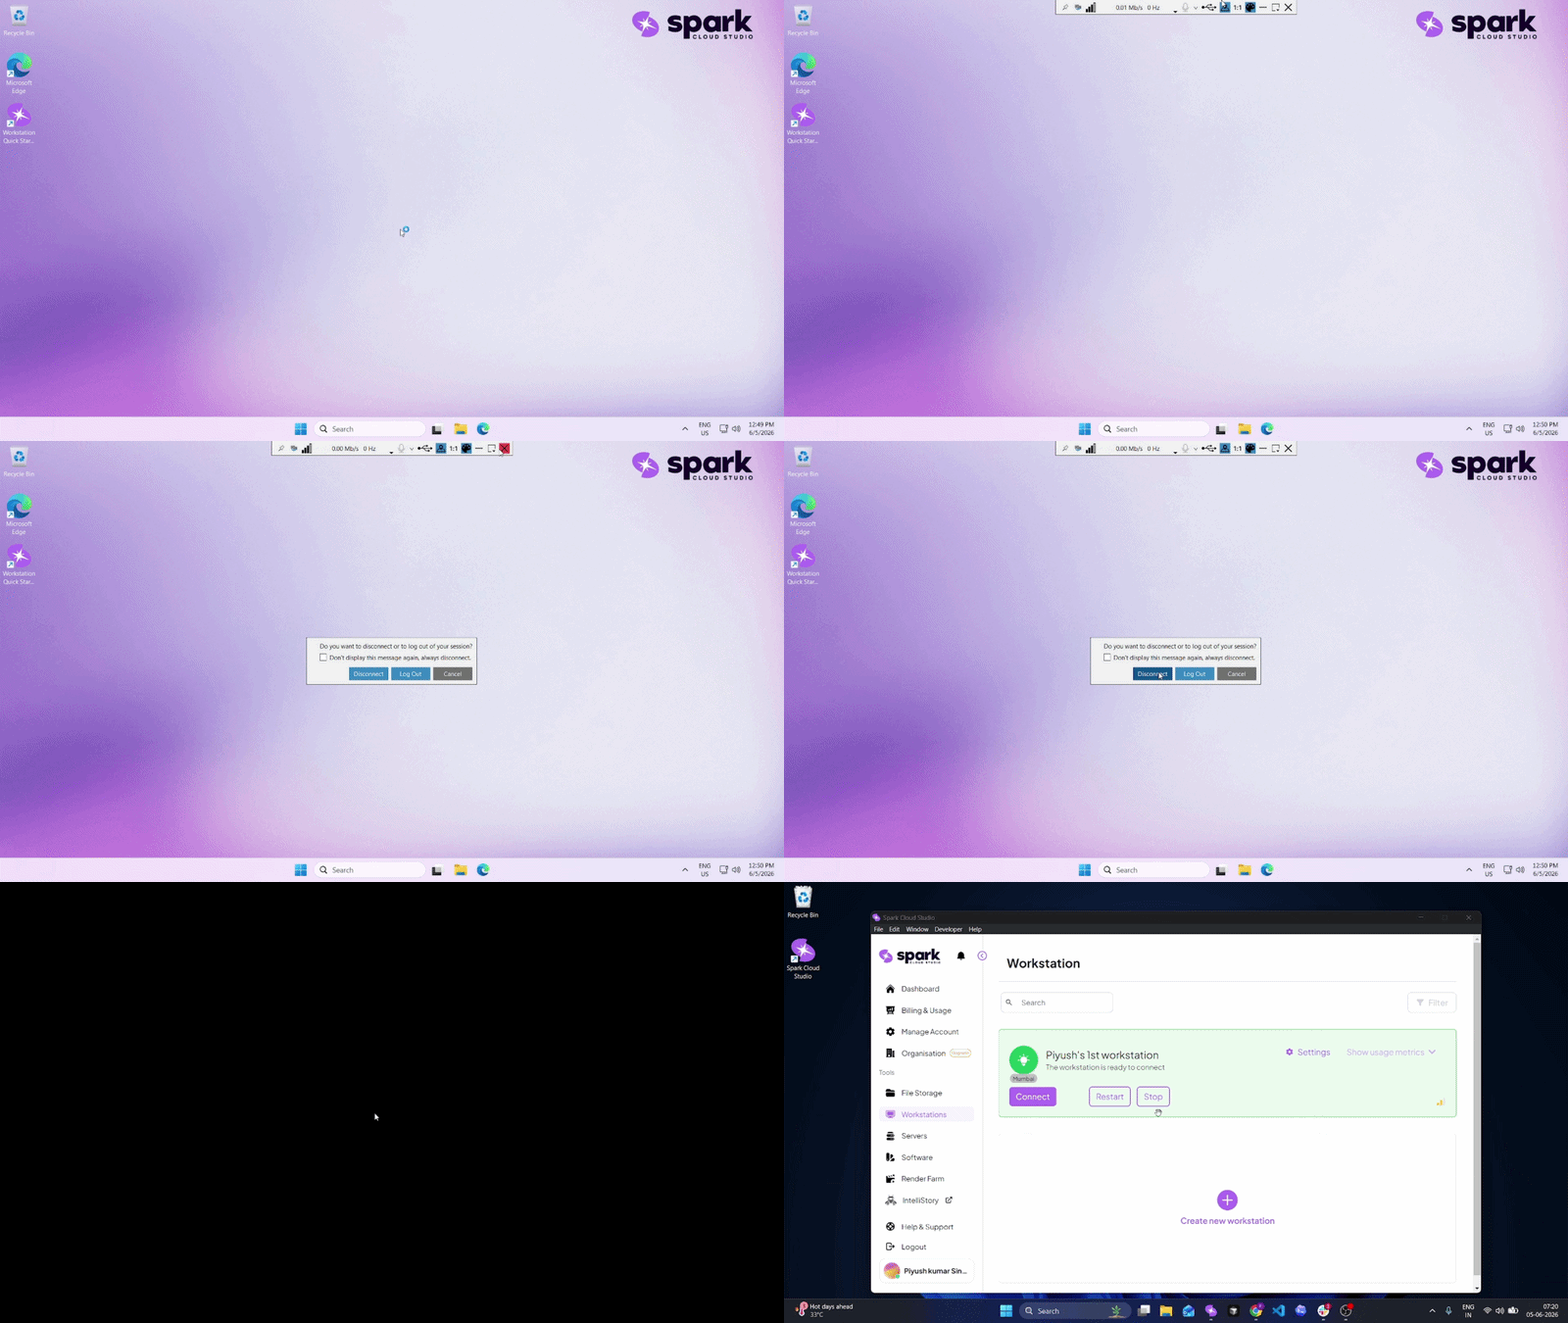 |
| Log Out | Ends your user session on the ProStation and closes user applications. The connection window will close; the ProStation typically remains powered on (use Dashboard to stop it if needed). | 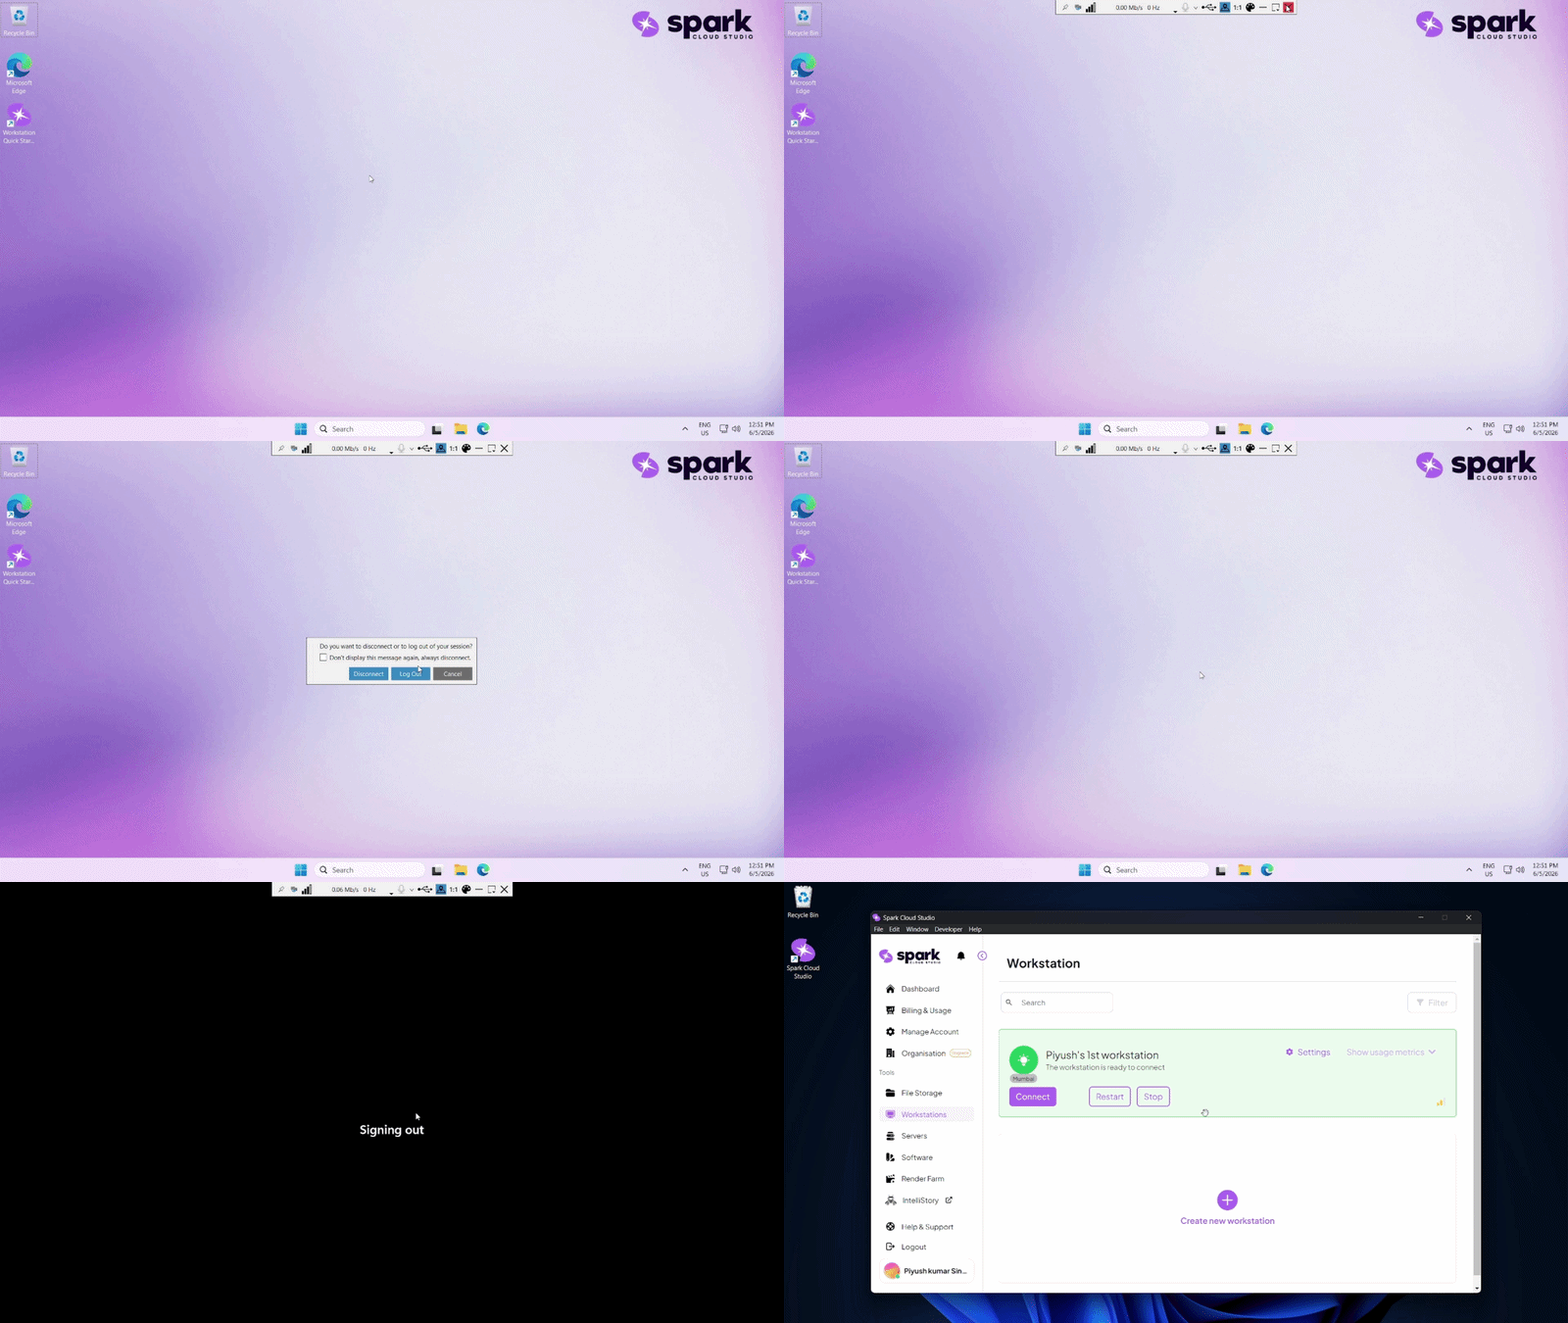 |
| Cancel | Closes the dialog and returns you to your active remote session. | 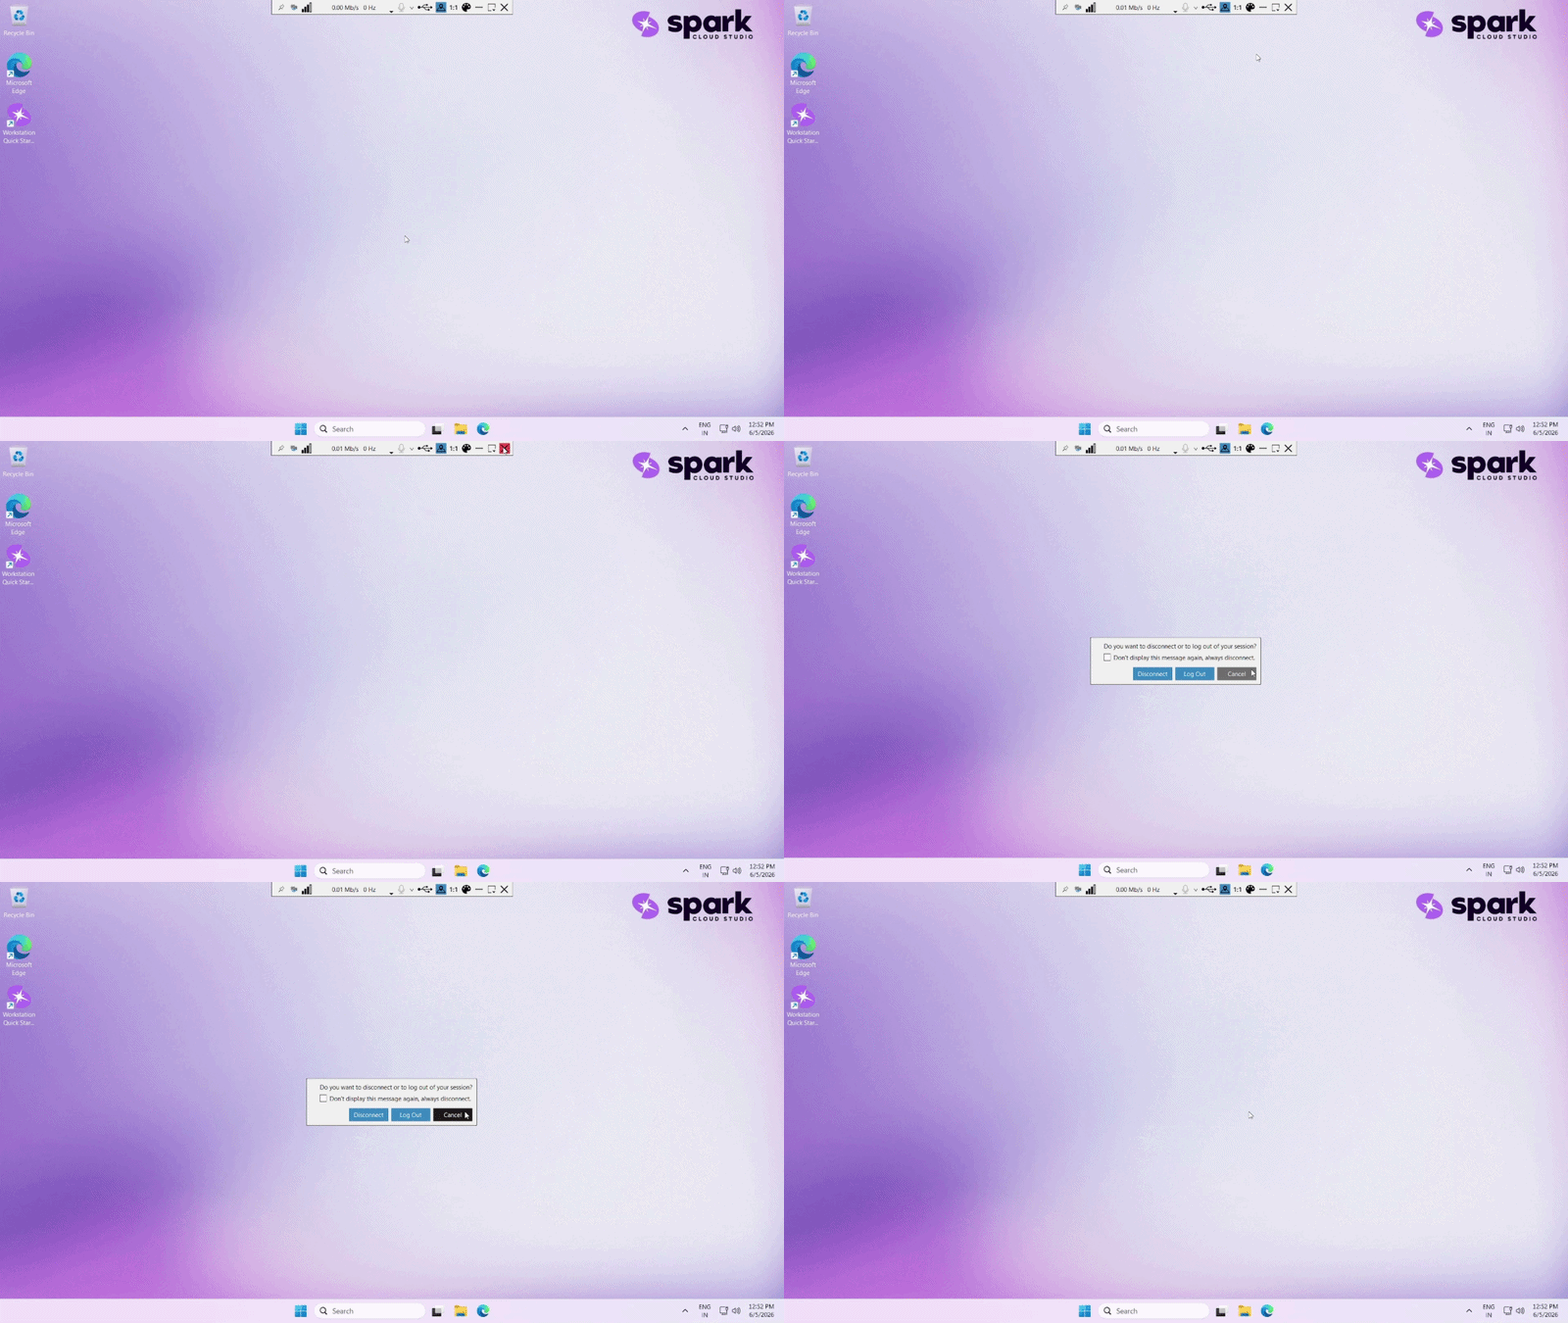 |
Option B: From Inside the OS
If you select power or session actions from inside the remote operating system (for example using the Start menu, Apple menu, or system menu in Linux), the OS operation will run on the ProStation itself and the connection window will close automatically when the operation begins.
| OS Action | What Happens | Screenshot |
|---|---|---|
| Shutdown | The ProStation powers off. The connection window closes automatically. To reconnect you must start the ProStation again from the Dashboard. | 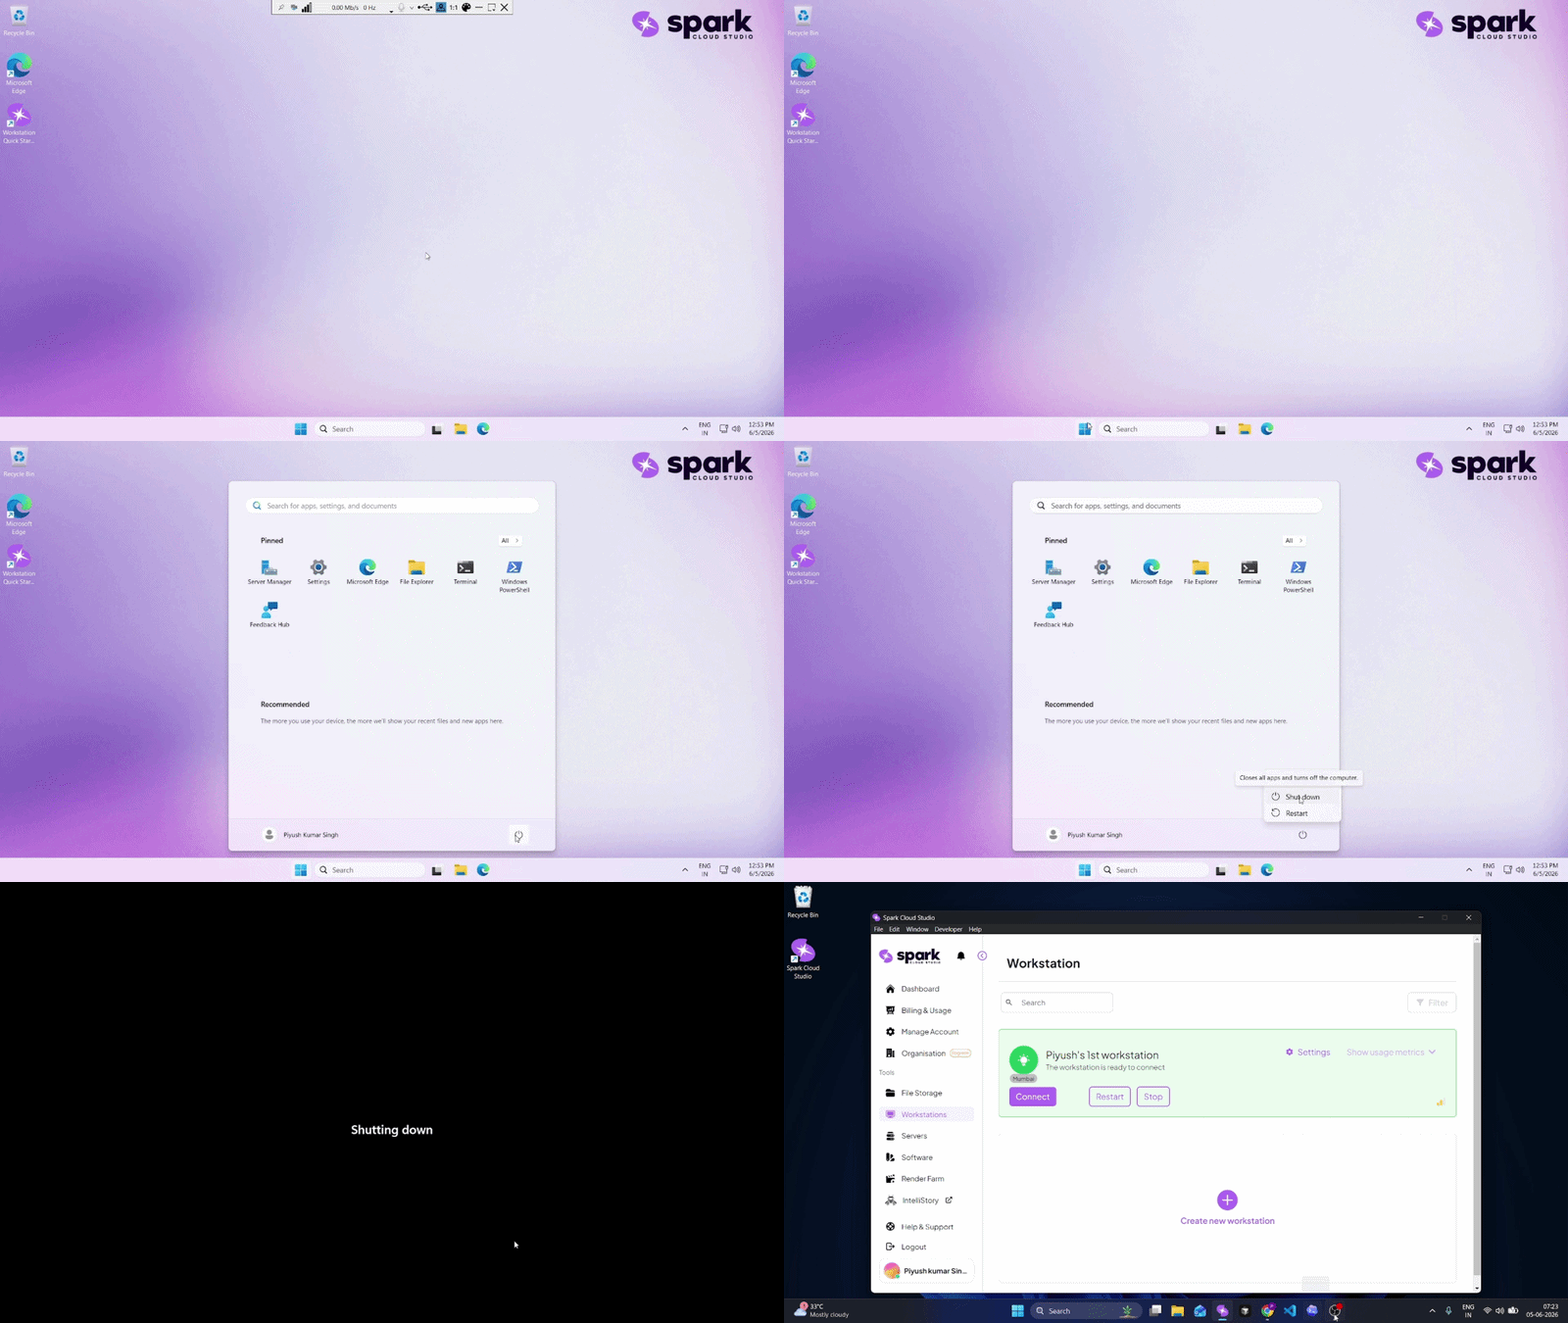 |
| Restart | The ProStation reboots. The connection window closes automatically; wait for the ProStation to return to the Running state before reconnecting. | 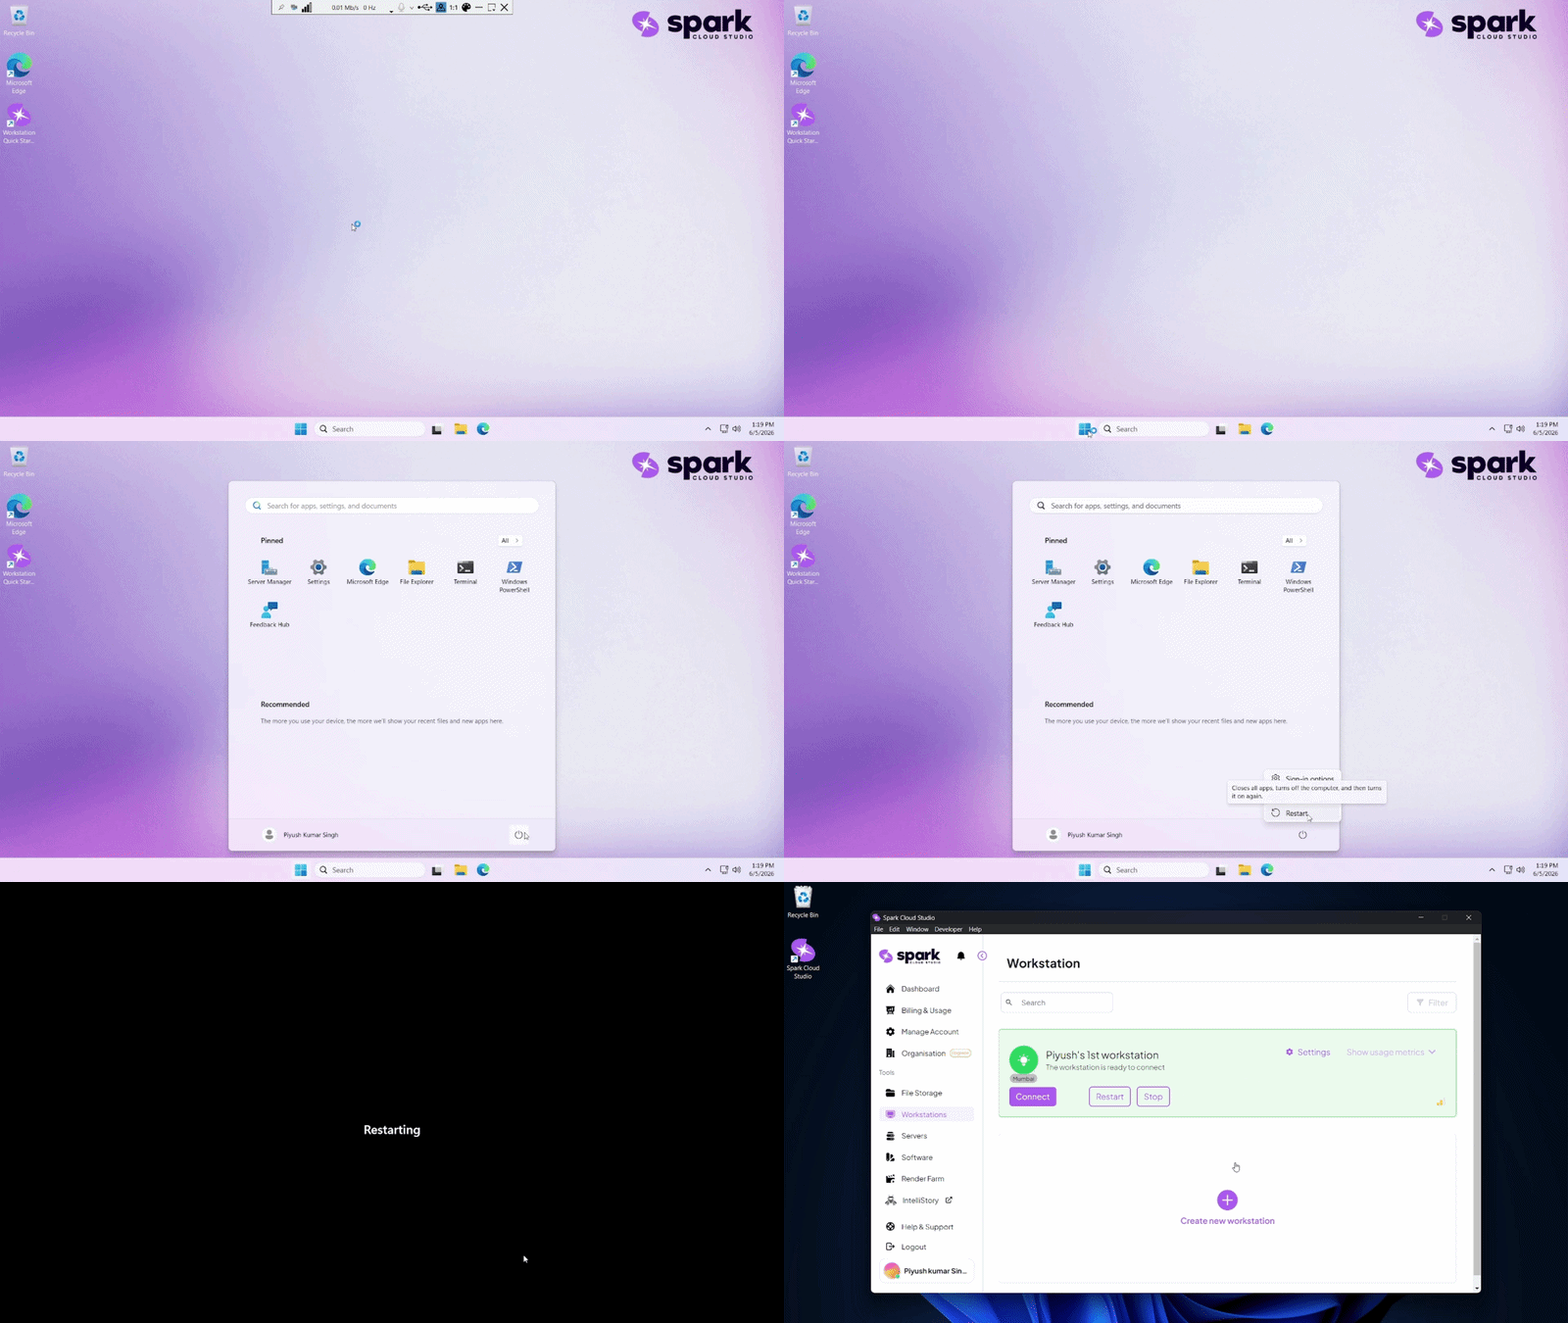 |
| Log Out | Your user session ends and all user applications are closed. The connection window will close; the ProStation typically remains powered on (check Dashboard). | 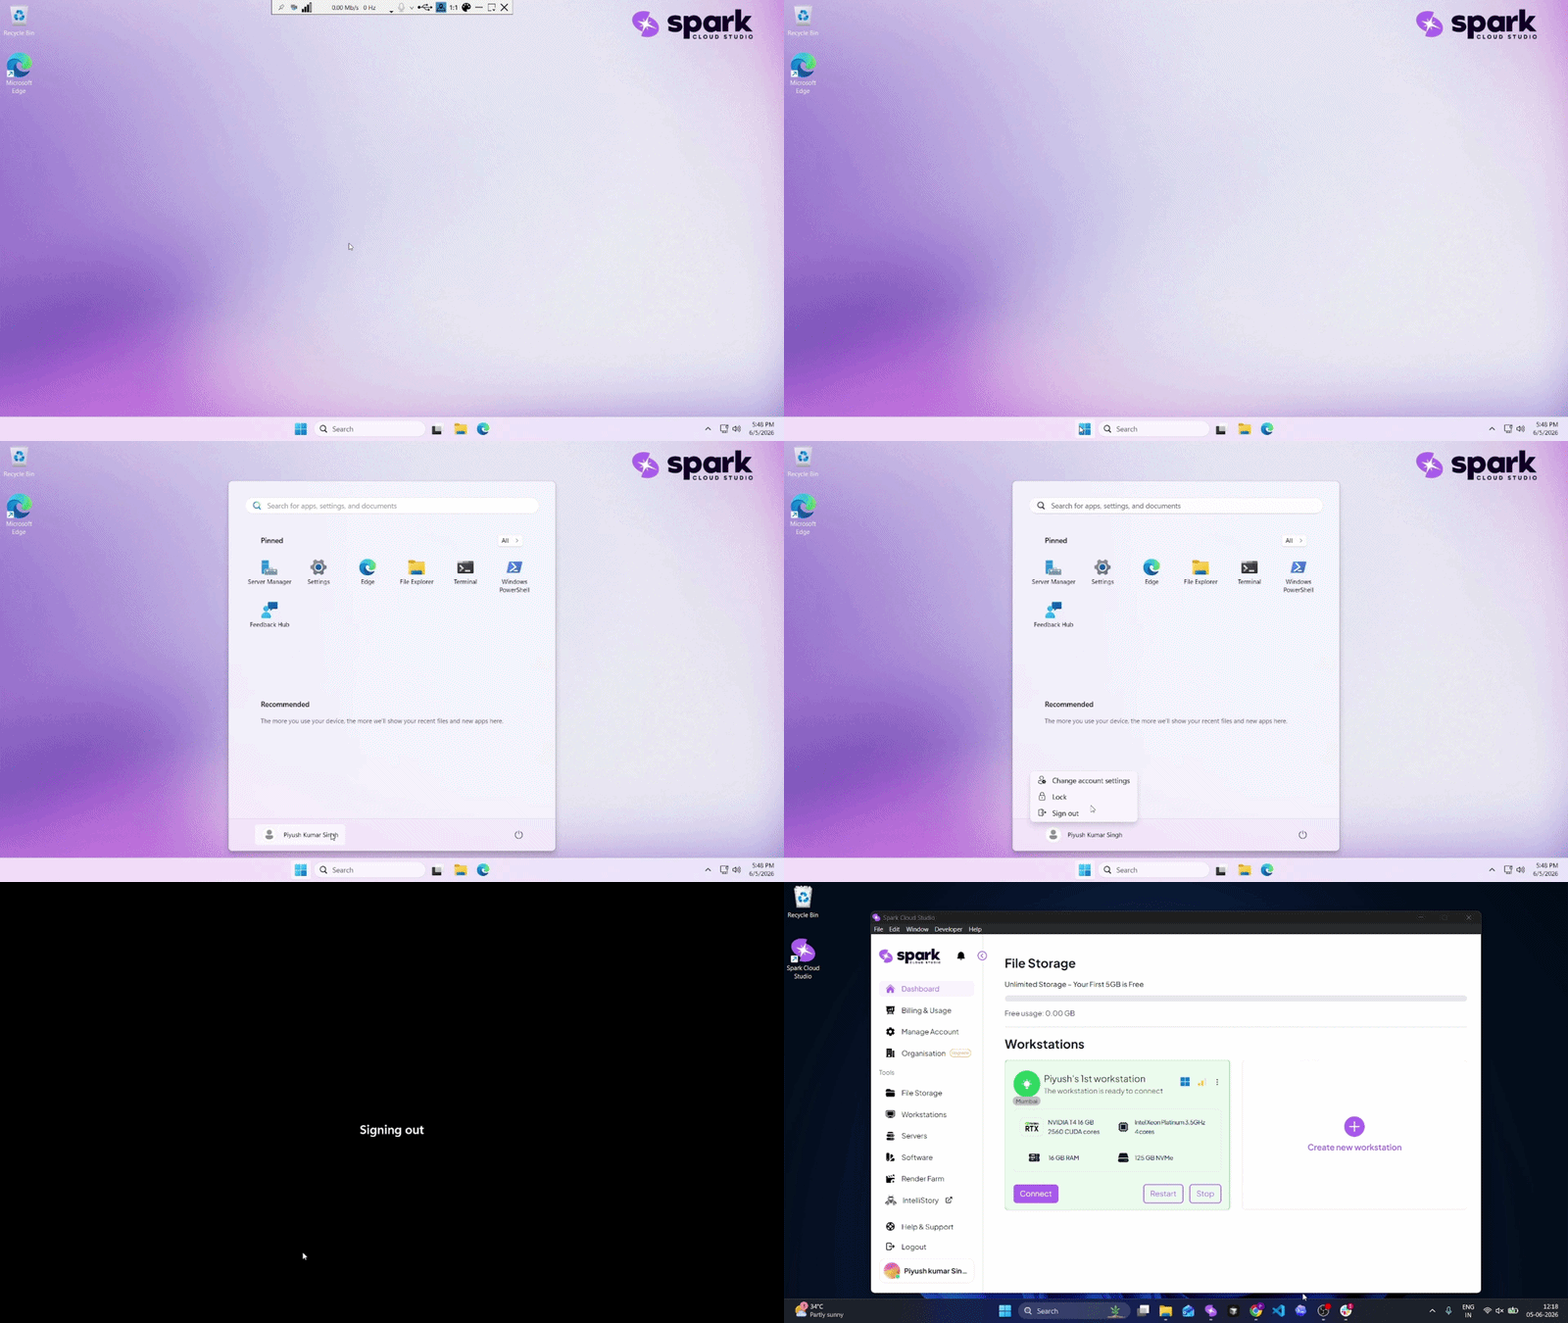 |

Disconnecting or logging out does not stop your ProStation. It continues running and billing. If you're done for the day, go to the Dashboard and click Stop.