Workstation Provisioning
Provision Workstations
The Workstations section enables owners and admins to create, manage, and assign workstations to team members.
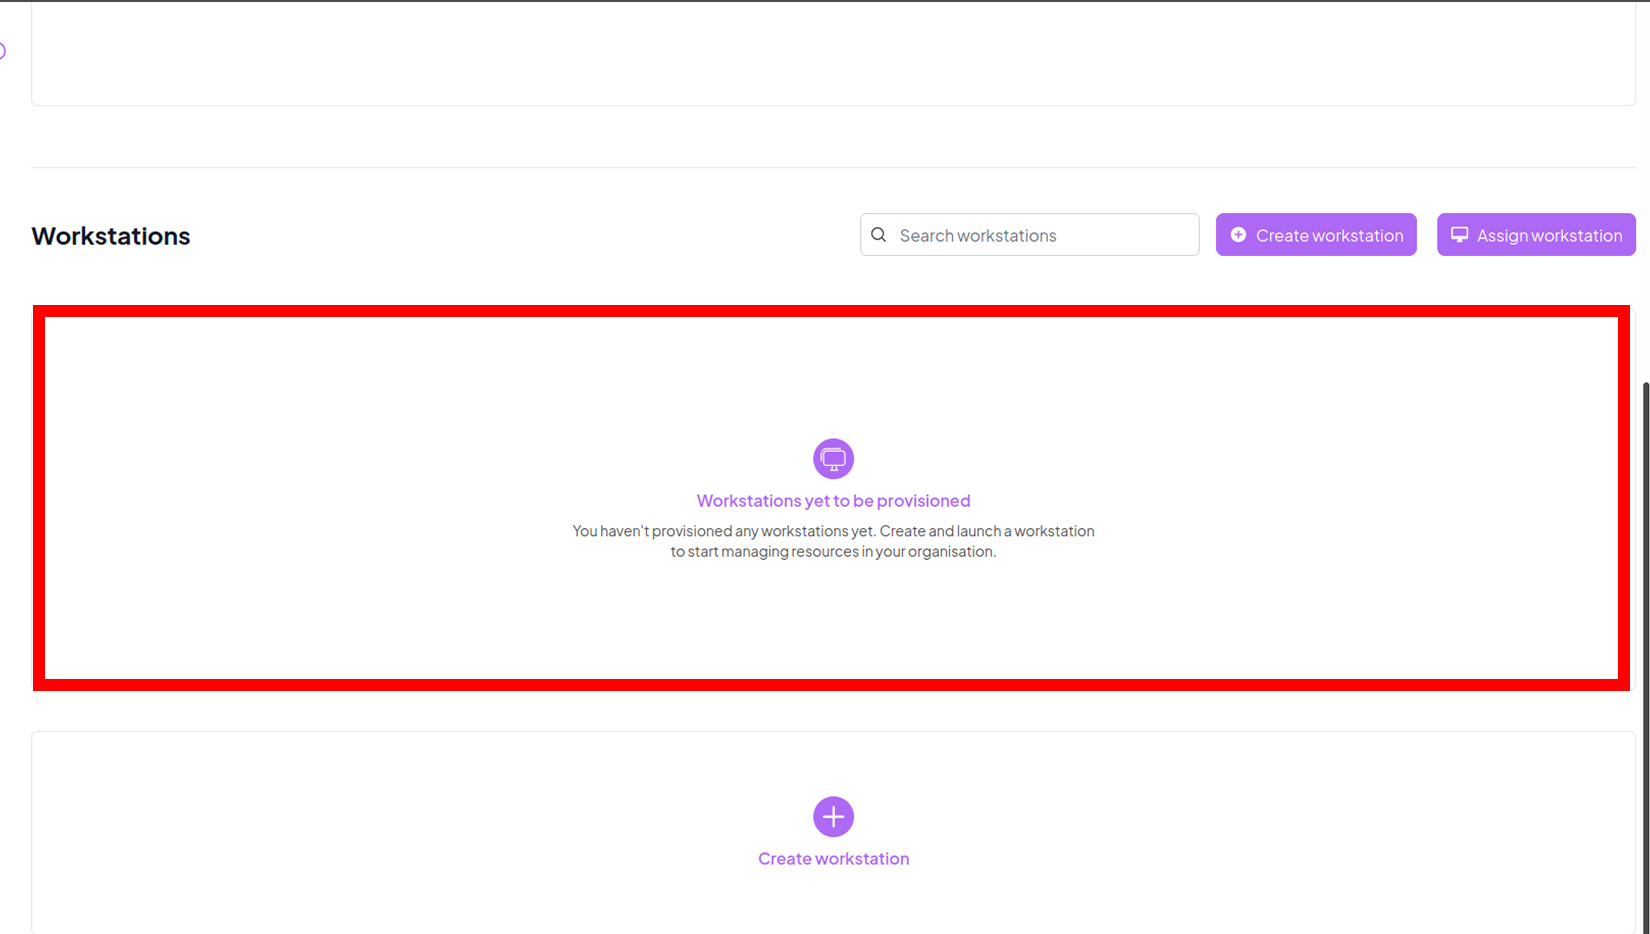
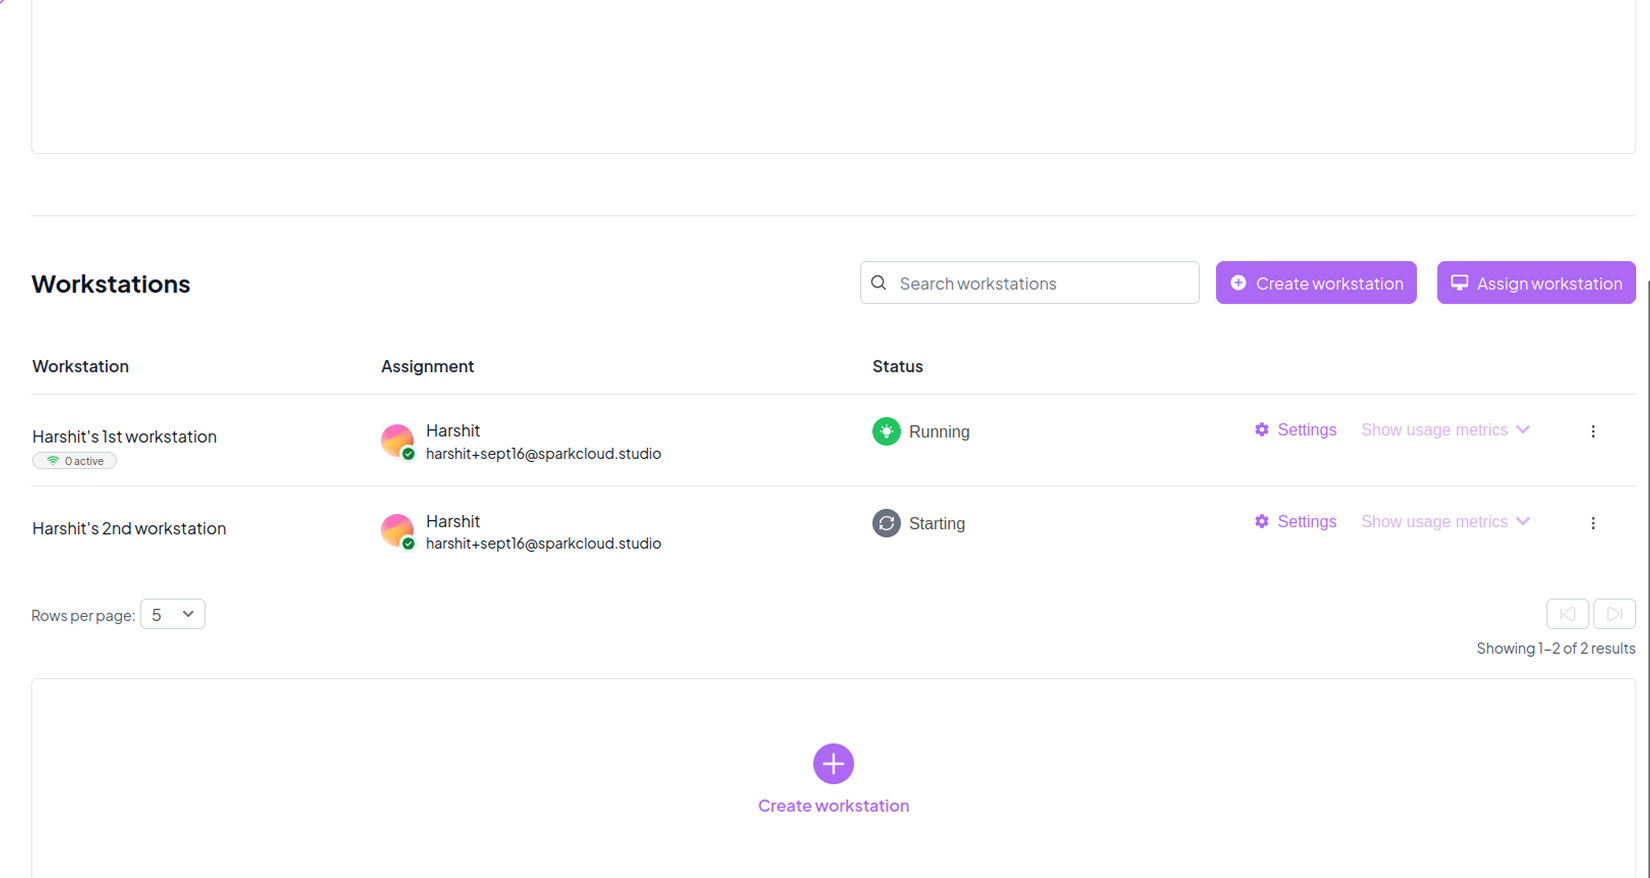
The overview displays all provisioned workstations along with their current status.
Newly created workstations are marked as "Yet to be provisioned" until setup is finalized.
Once some workstations are active, the overview will appear like this:
Admins can set up new workstations tailored to the team’s computing needs.
During creation, you’ll specify details such as configuration, size, and intended purpose.

For detailed steps on workstation creation, check out the: Create Workstation section
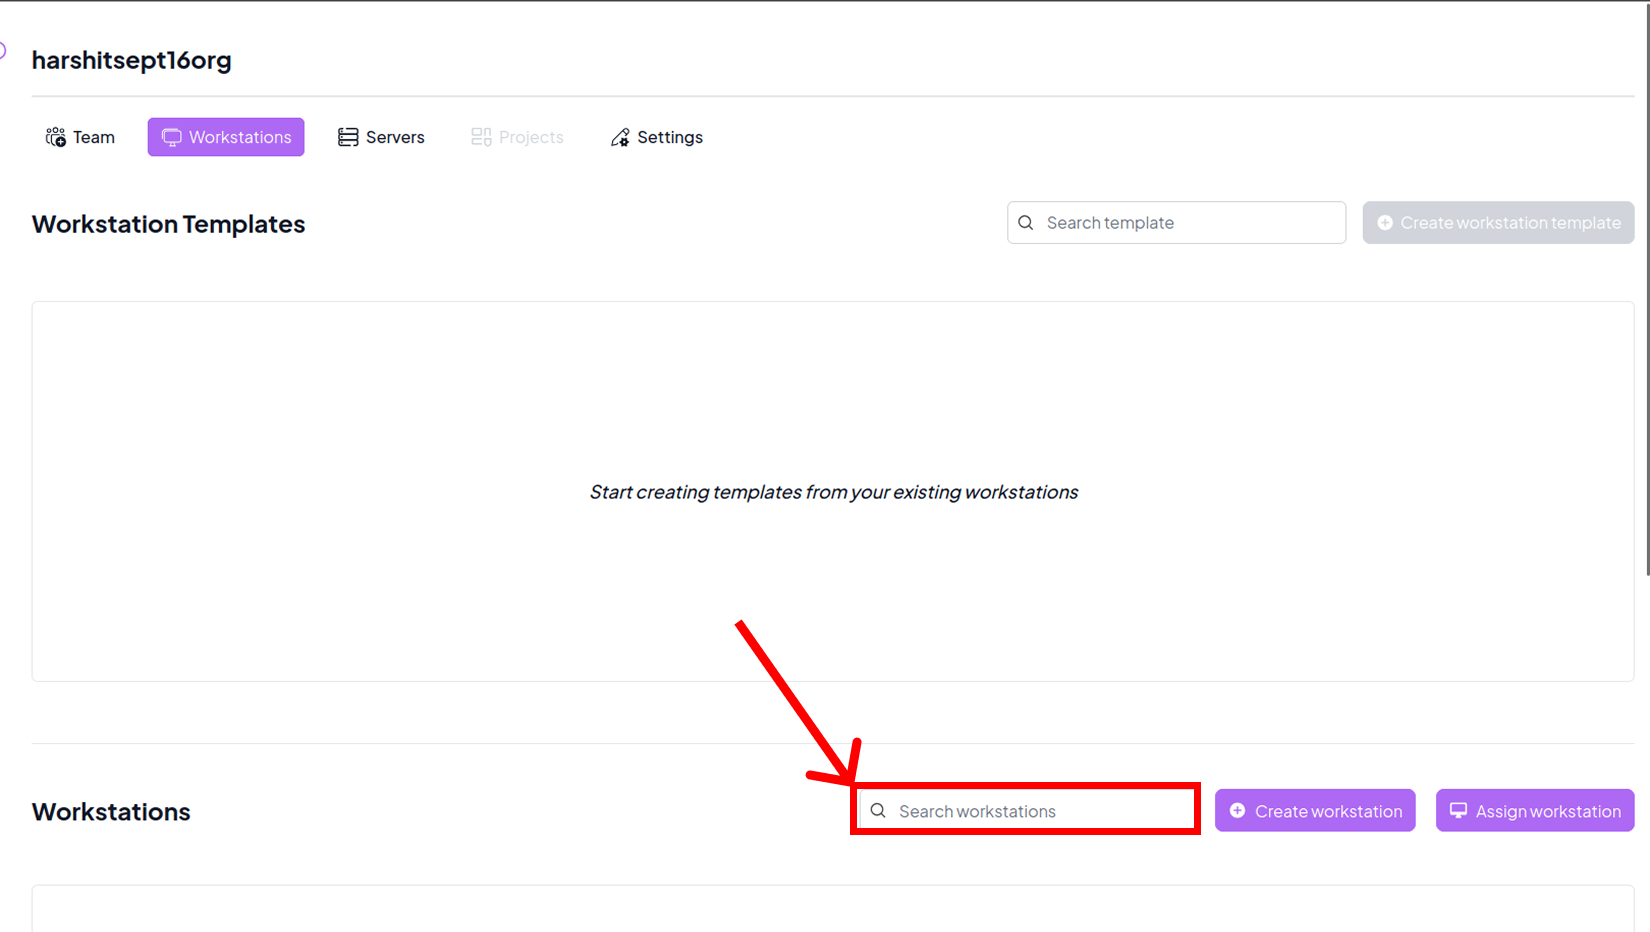
Use the built-in search bar to quickly find specific workstations among all provisioned resources.
This feature is especially useful for larger teams managing multiple environments.
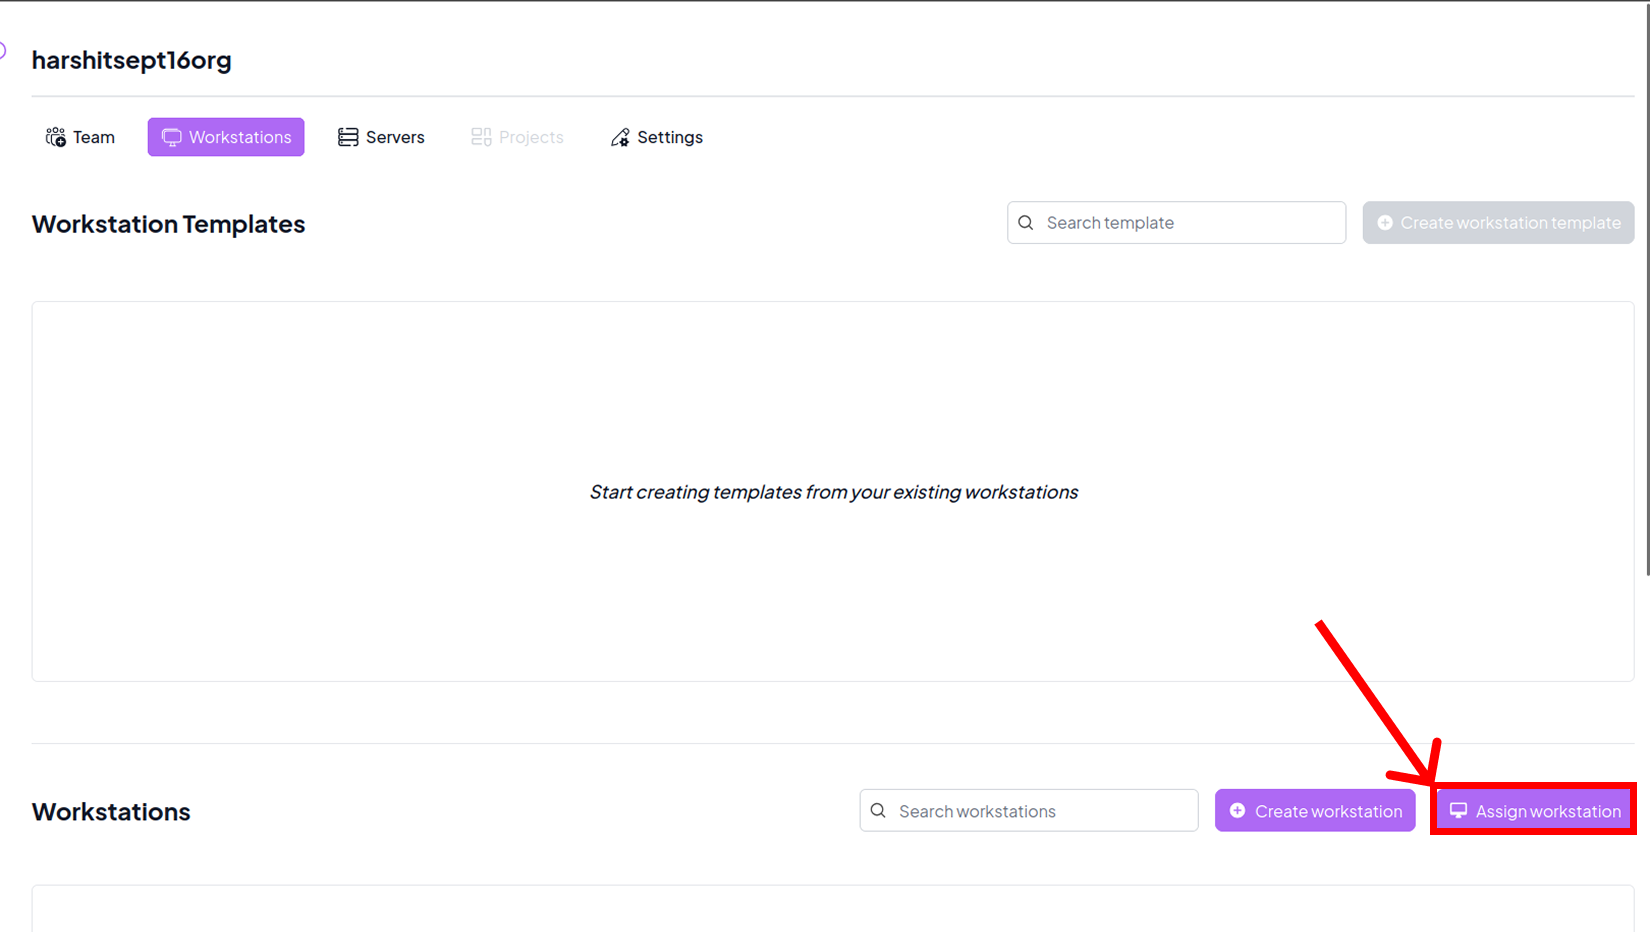
Assign Workstations to Team Members
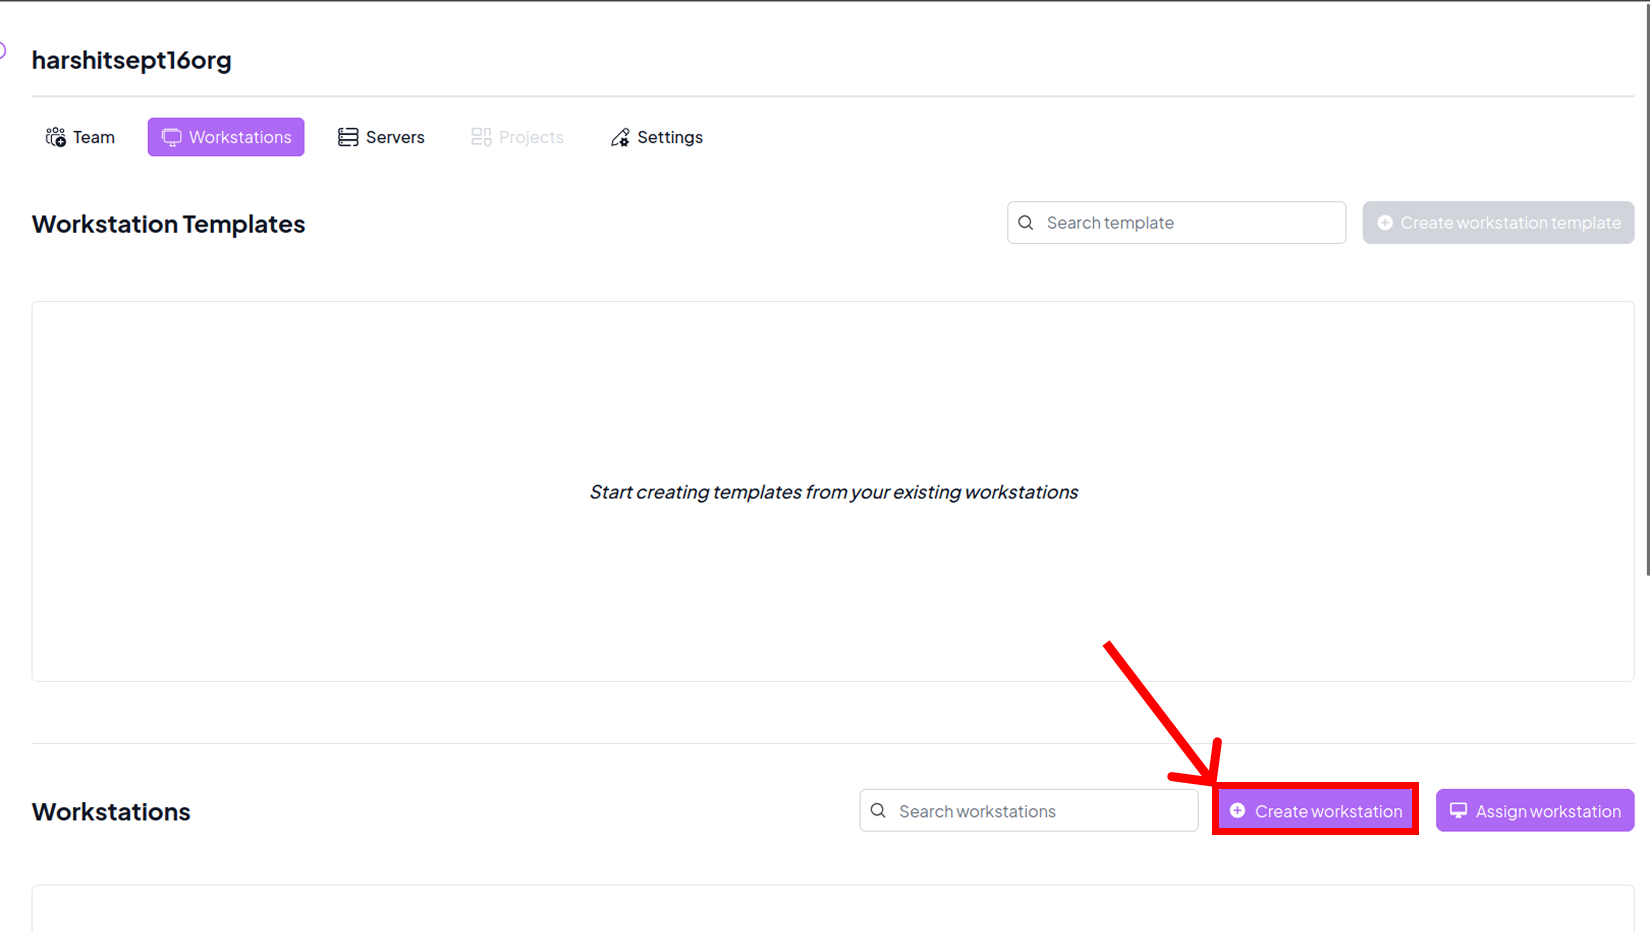
Click the Assign Workstation button located at the bottom-right corner.

A workstation must already be created before it can be assigned.
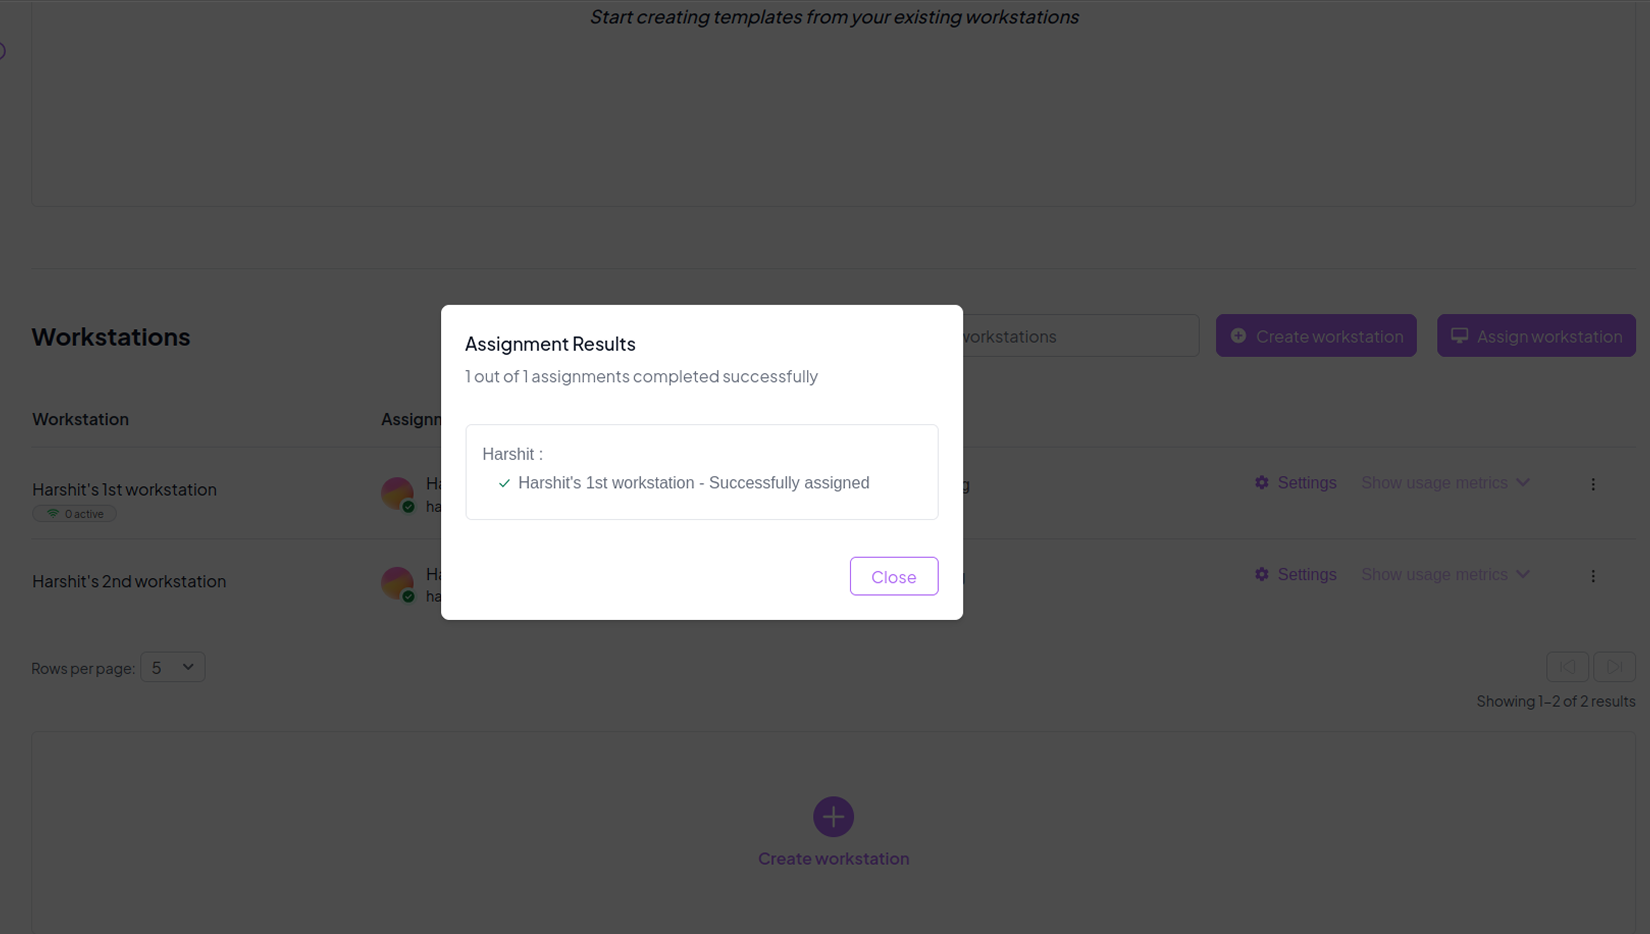
From the dialog, select the user you want to assign the workstation to, then pick the workstation from the available list.
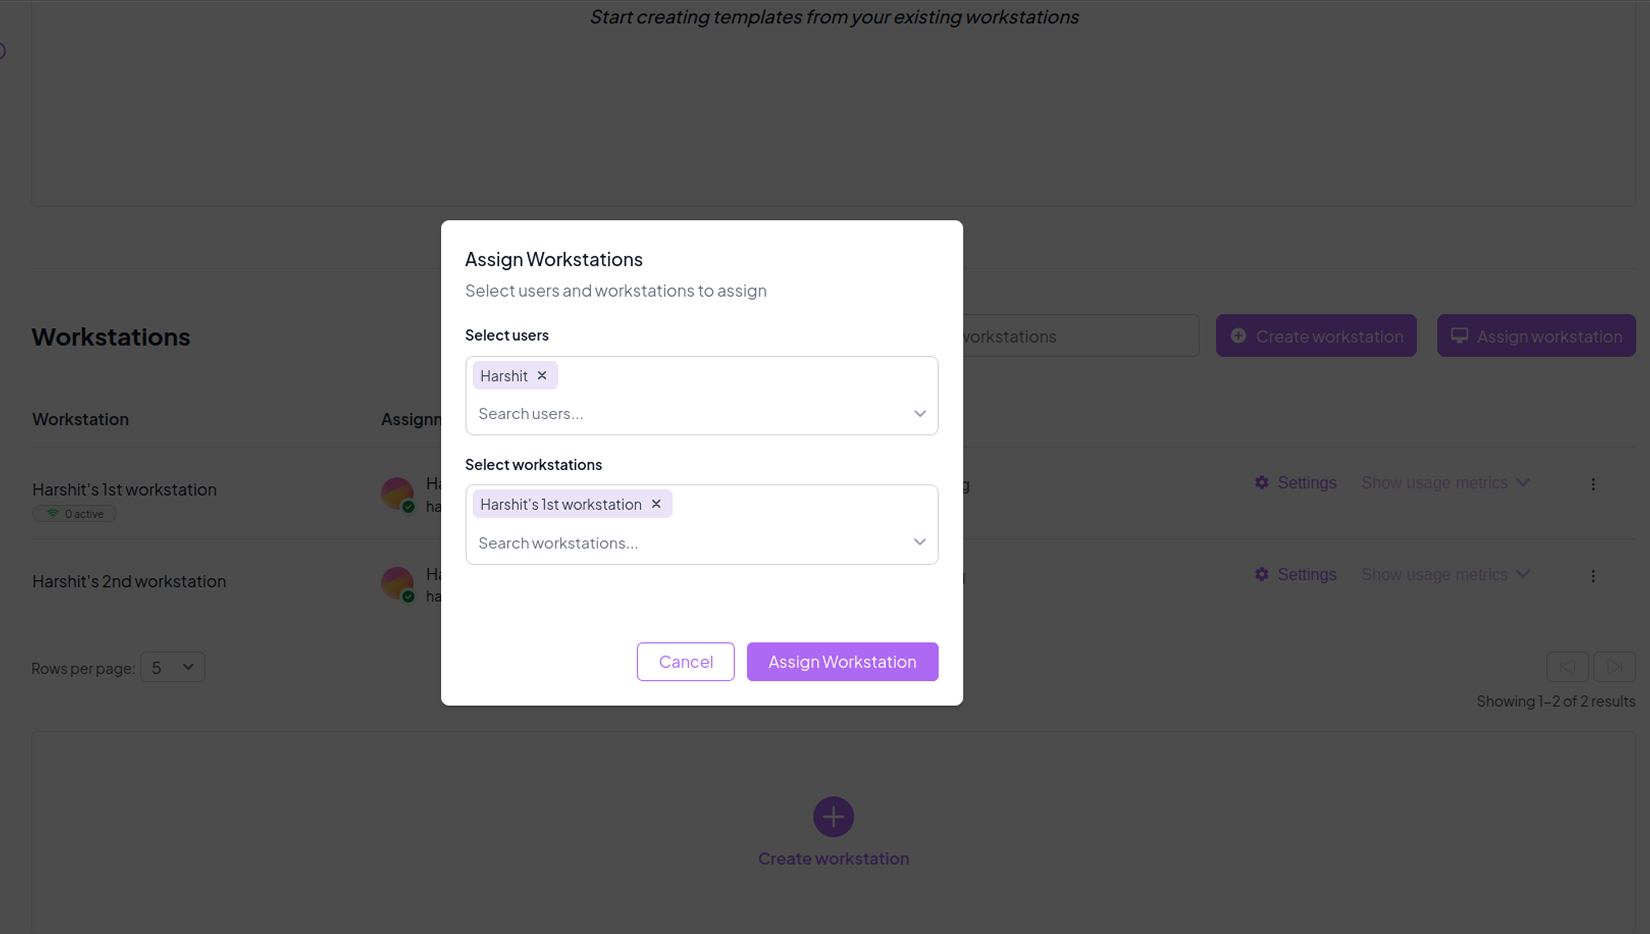
Once the assignment is successful, a confirmation dialog will appear to verify that the workstation has been linked to the chosen user.