Share Files and Folders
To share files and folders, navigate to the Personal section in ShareSync. You will find the sharing options on the right side of each file or folder listing.
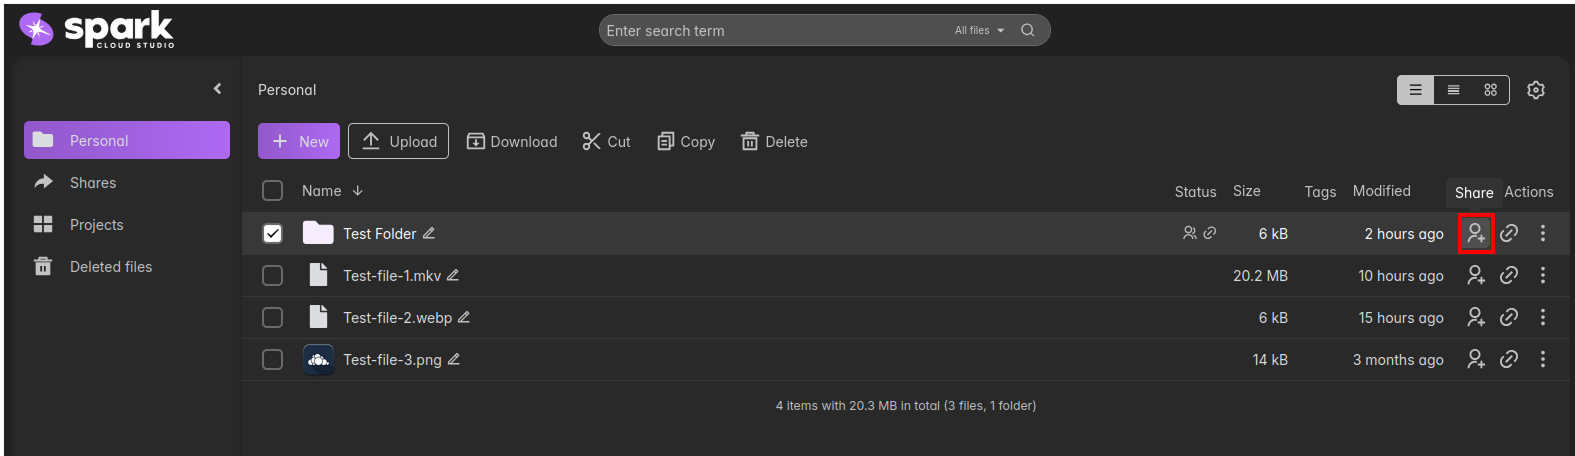
- The Share option is directly accessible via the link icon next to the file or folder name.
- This will open the Sharing pane on the right, displaying all available sharing options.
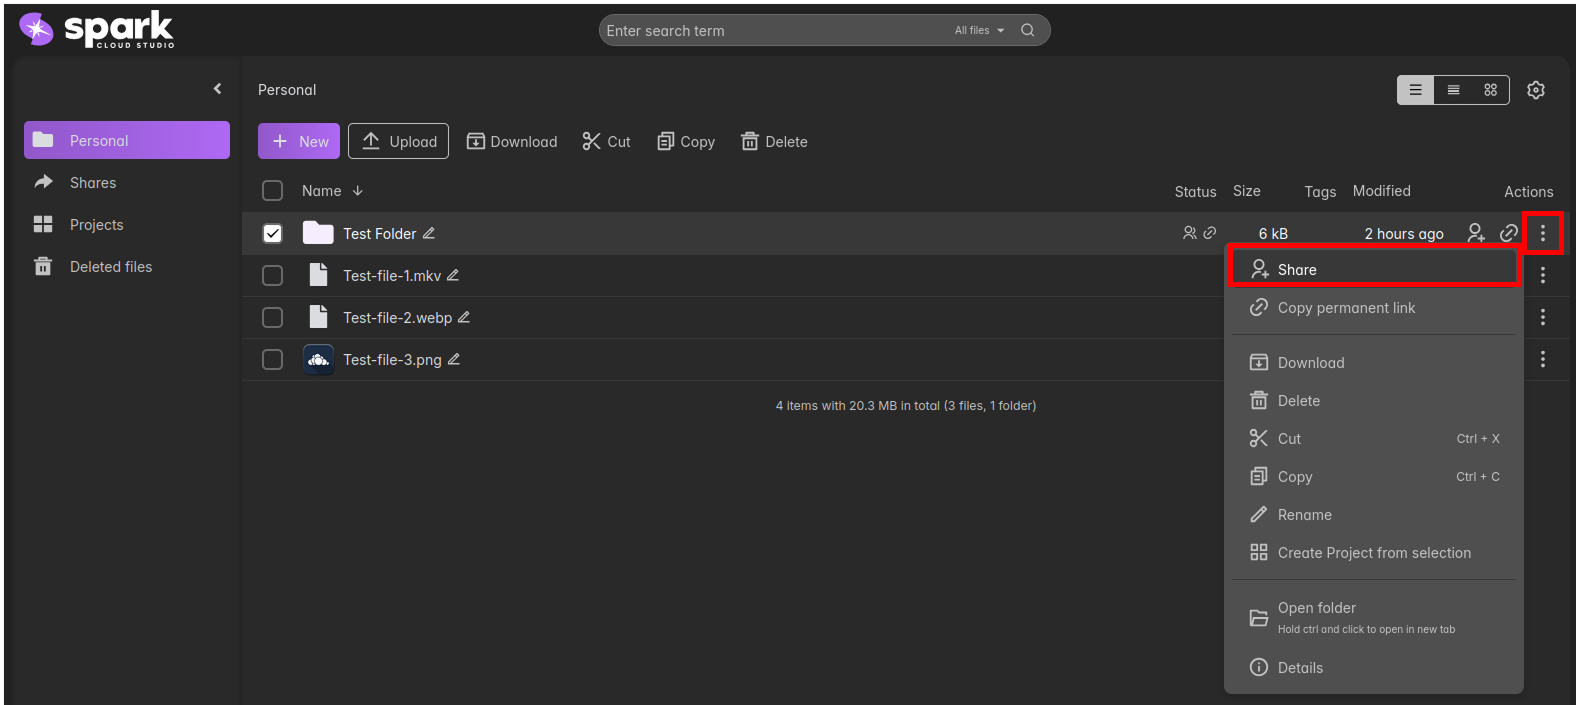
- Alternatively, you can click on the Kebab Menu (⋮) next to a file or folder and select "Share" from the dropdown list.
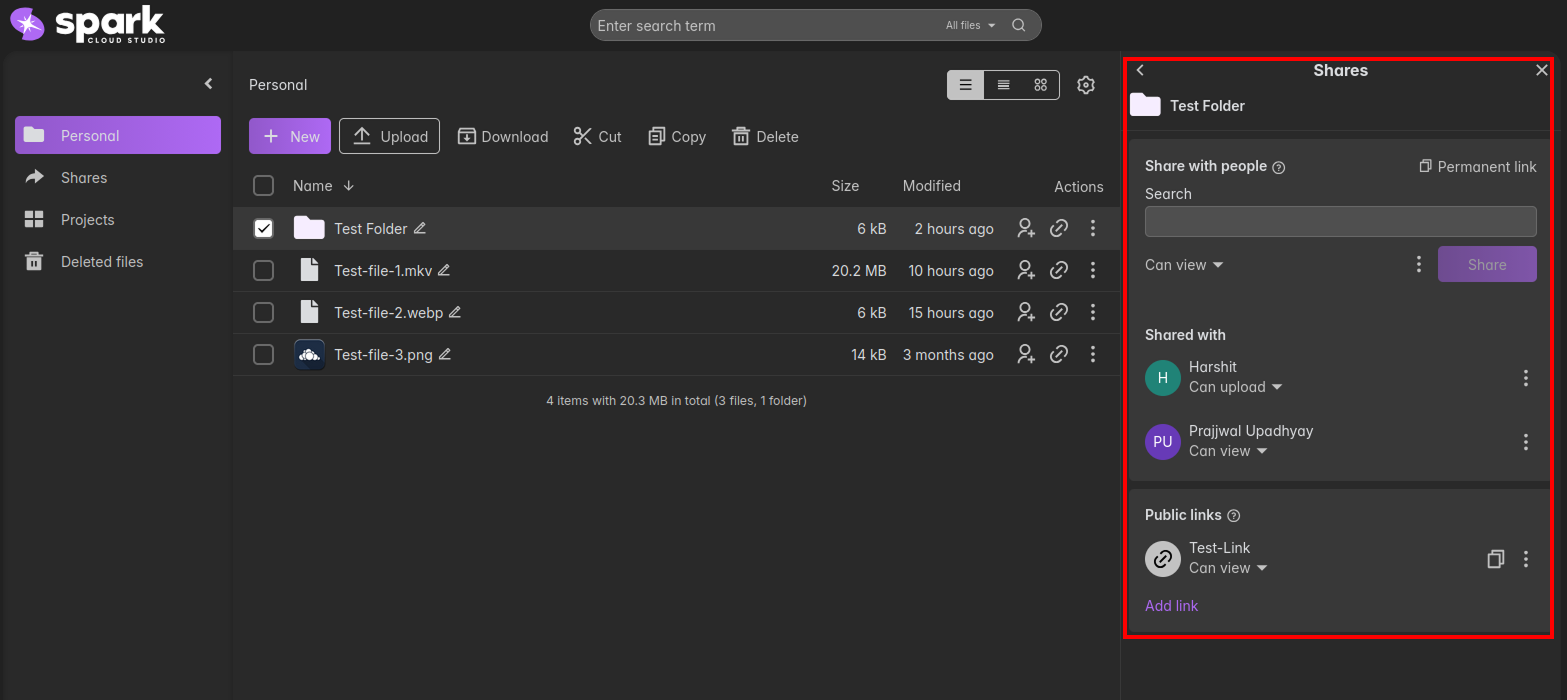
- Once selected, the Sharing pane will appear on the right side of the screen.
The Share option allows you to grant specific users and groups access to your resources.
| Feature | Detail | Screenshot |
|---|---|---|
| Search and Select | Use the input field to search for users and groups. Select them to share the item. | |

Key Points:
- Subfolders: If you share a folder, all of its contents and subfolders will be shared as well.
- Notification: People you share resources with will be notified via email or an in-app notification.
- Incognito: People you share resources with cannot see who else has access to the same resource.
- "Via folder": This indicator is shown next to a share if access has already been given via a parent folder. Click on "via folder" to edit the share permissions on its parent folder.
Permission Levels
While sharing a file or folder, you can assign one of the following permission levels depending on the level of access you want to provide:
| Permission | Description | Screenshot |
|---|---|---|
| Can View | Allows users to only view and download the file or folder. No modifications can be made. | 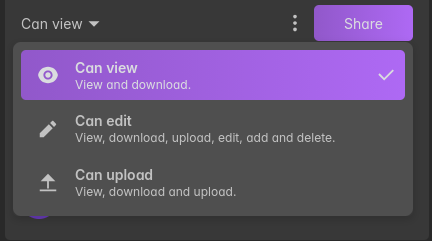 |
| Can Edit | Allows users to view, download, upload, edit, add, and delete files within the shared resource. | 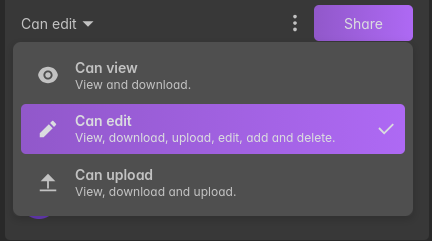 |
| Can Upload | Allows users to view, download, and upload files, but does not permit editing or deleting existing content. | 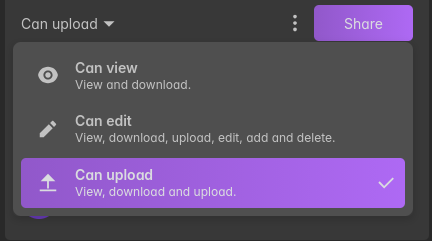 |
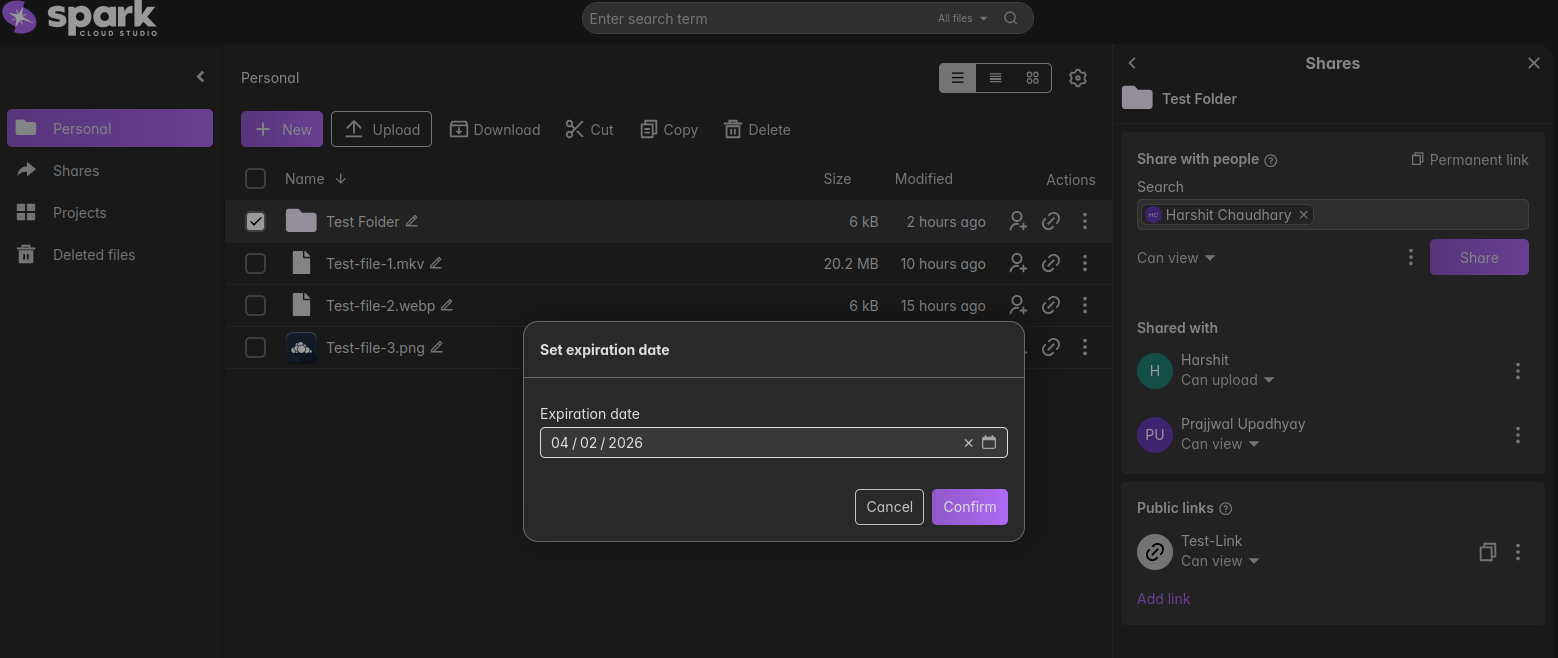
Setting Expiration Date
Before sharing a file or folder, you have the option to set an expiration date for access. This allows you to define a specific date after which the shared access will automatically be revoked.
Click on the Kebab Menu (⋮) next to the permission selector within the sharing pane.
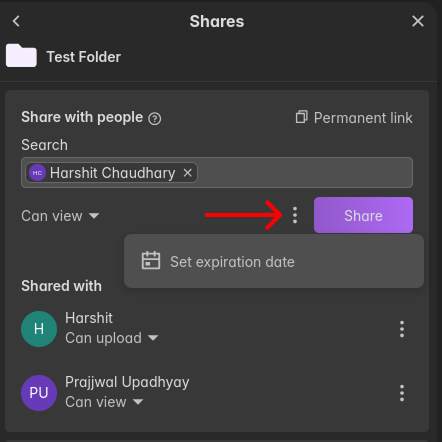
Select "Set expiration date" and choose the specific date you would like access to expire.
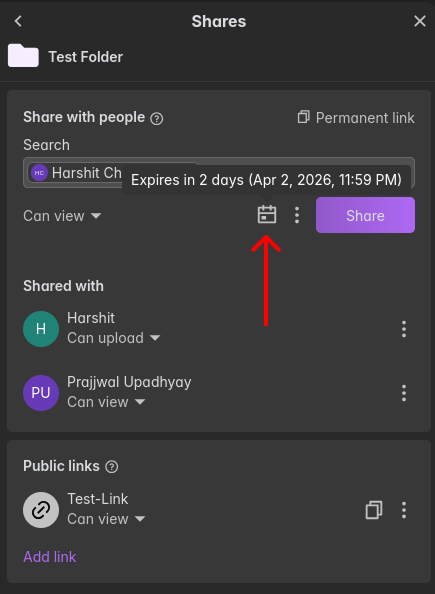
Once set, a calendar icon will appear next to the permission selector. You can hover over this icon to view the scheduled expiration date at any time.
Key Points:
- Access will be valid only until the selected expiration date.
- After expiration, users will no longer be able to view or interact with the shared resource.
- This is useful for temporary sharing or time-restricted access.
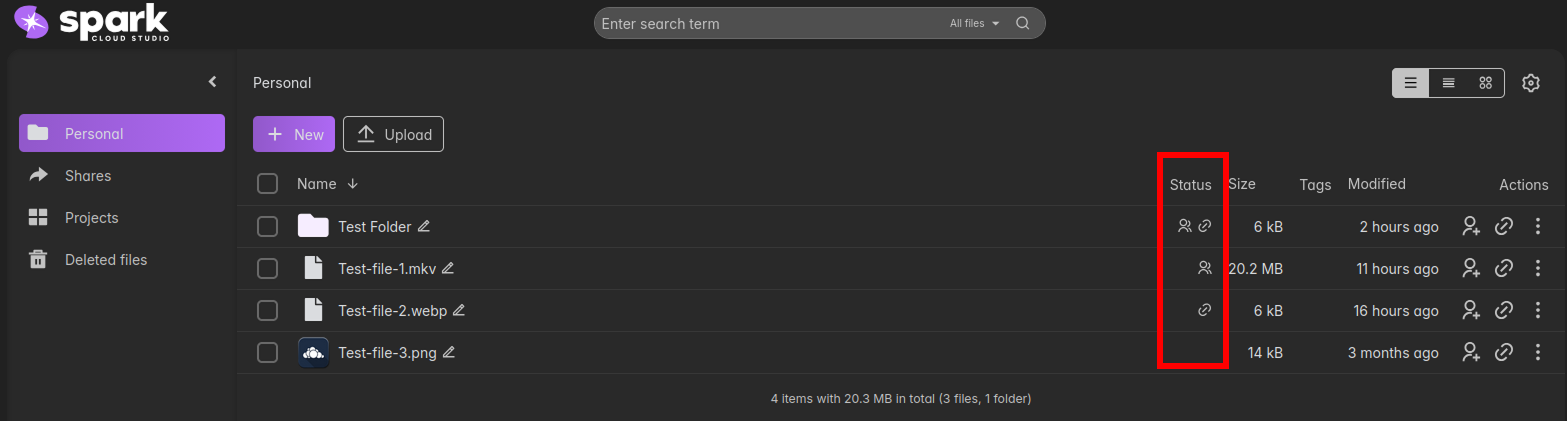
Share Status Indicator
Once a file or folder has been shared, its status is reflected in the Status column in the file list. Icons appear next to the file or folder to indicate that it has been shared with users and/or is accessible via a link.